Create a guided tour
Learn to create tours using Voyager Story, developed by the Smithsonian Institute.
Creating a tour
In the Tours tab, click on the button to create a new guided tour.
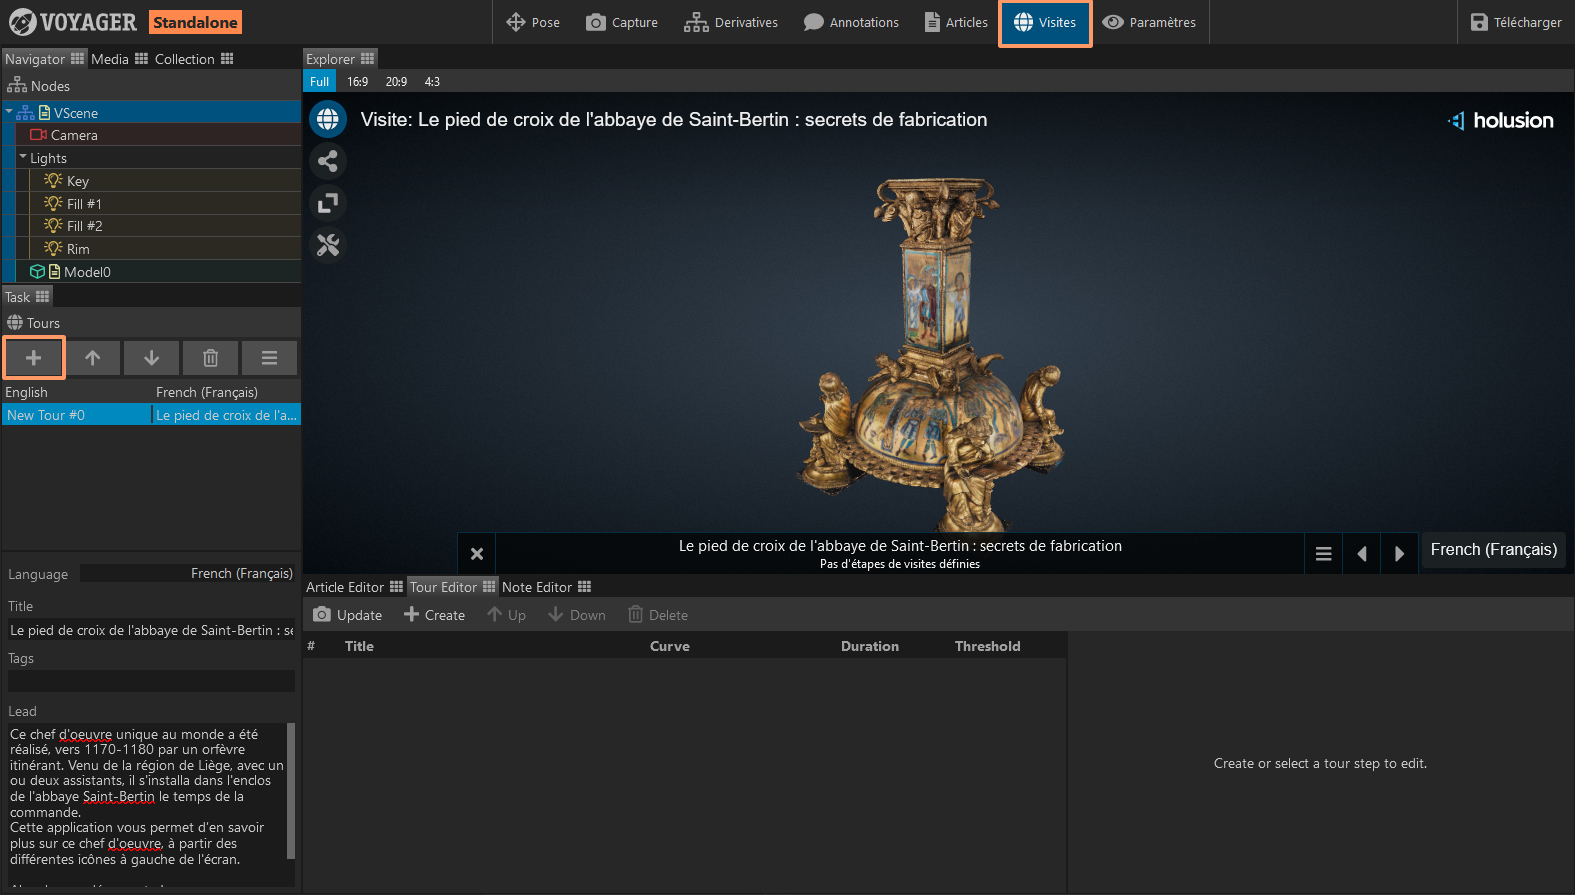
You can then give it a title and a summary, which will be displayed when selecting a tour in the main menu.
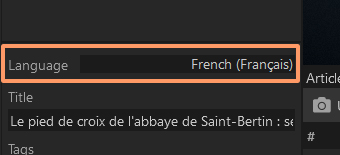
Be sure to set the language of your application for the tour correctly.
Tour options
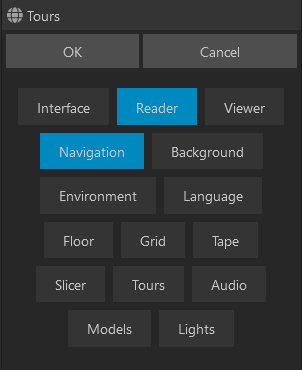
You can choose which settings can be changed from one slide to another in your tours.
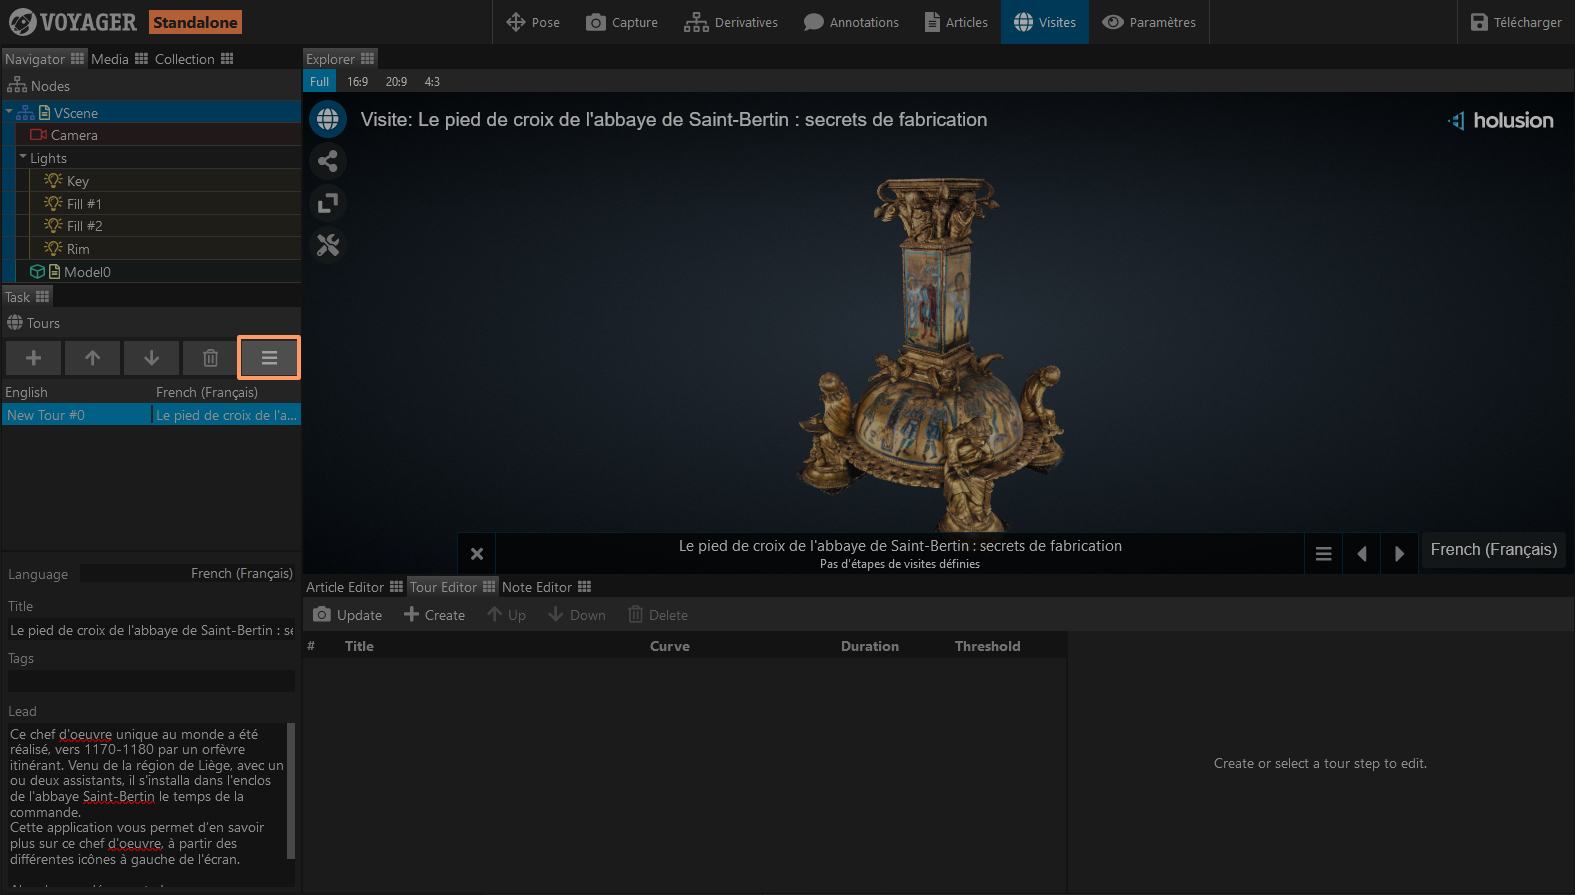
To do this, go to the options and check the desired ones.
Add a new step
In the Tour Editor, click on Create to create a new step for your guided tour, then give it a title.
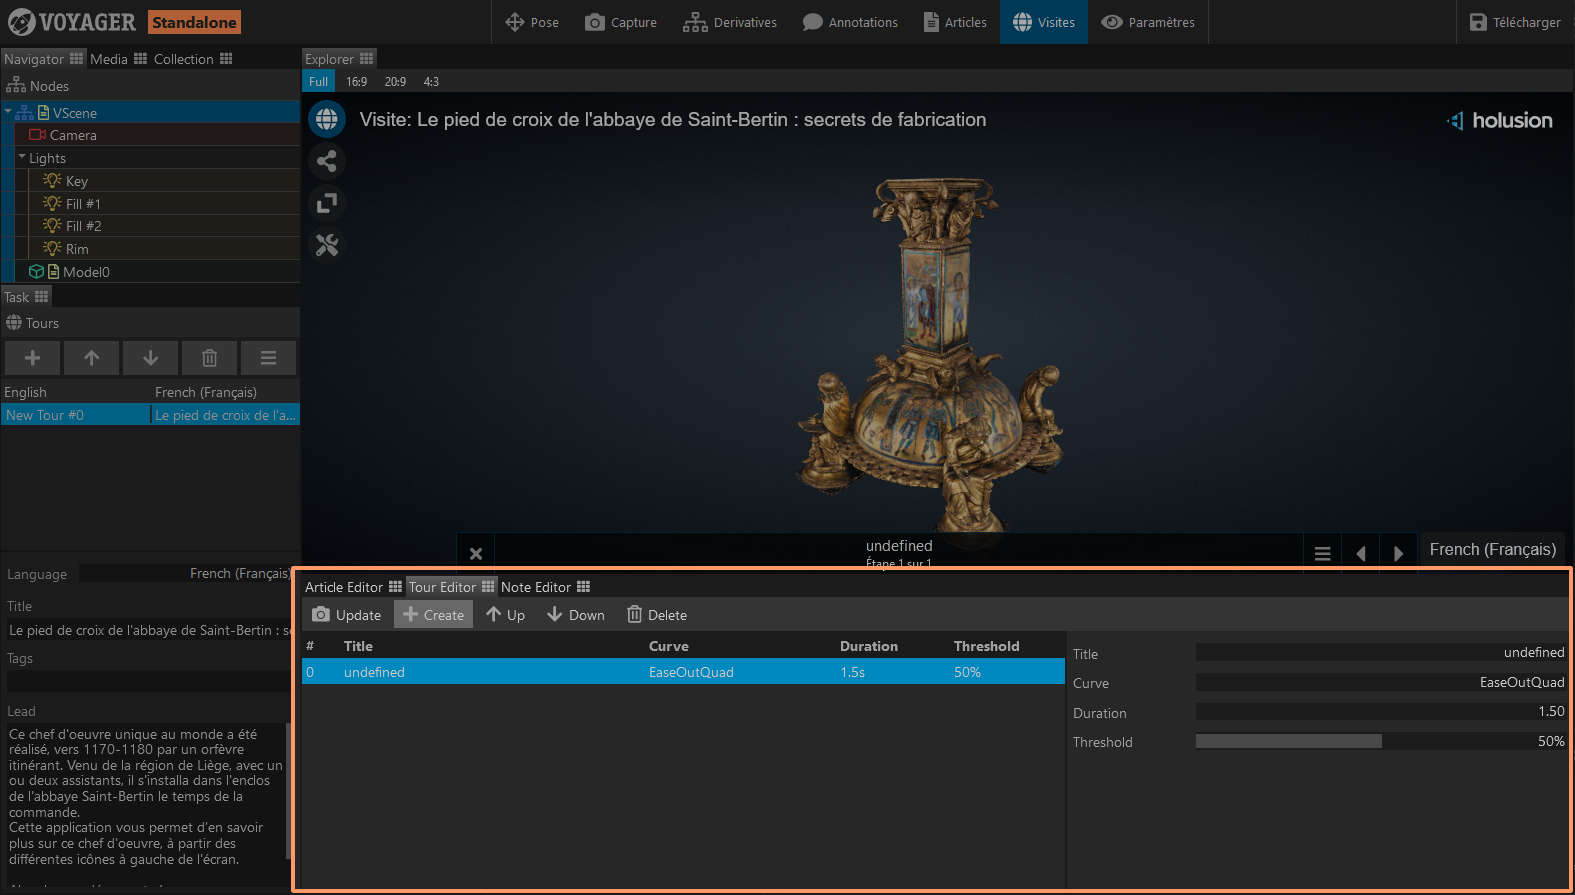
Anime the step
Depending on the options defined previously, you can directly animate the camera in the scene, as well as display articles and annotations.
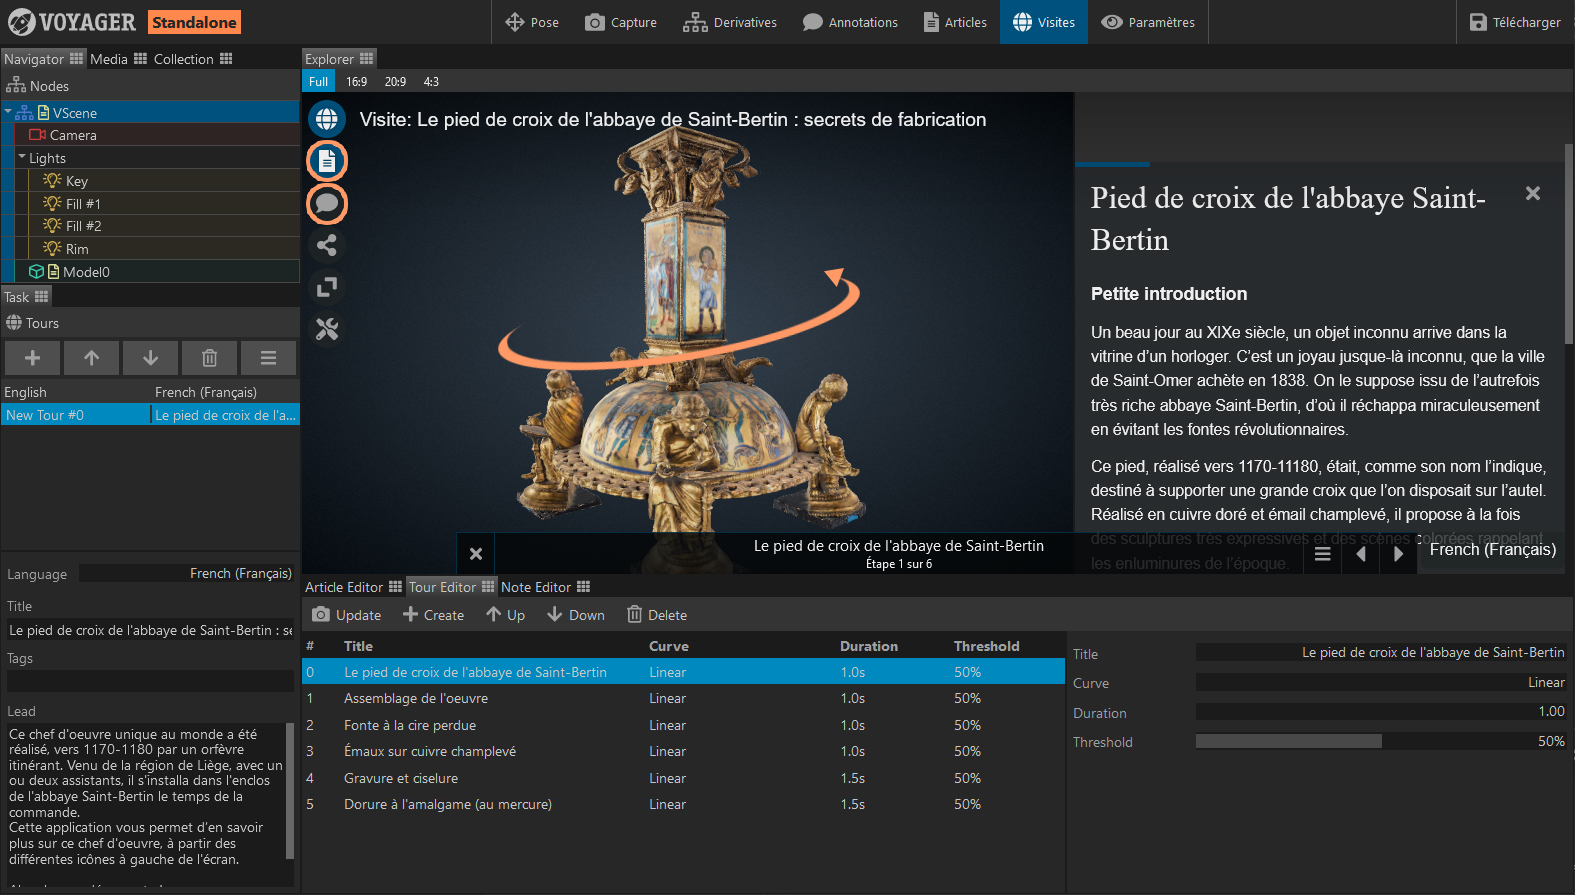
When you are satisfied with the display, click on the Update button to save your step.
Anime settings
Depending on the chosen options, you can also animate certain settings. To do this, while keeping the Tour Editor open for the desired tour, go to the Settings tab.
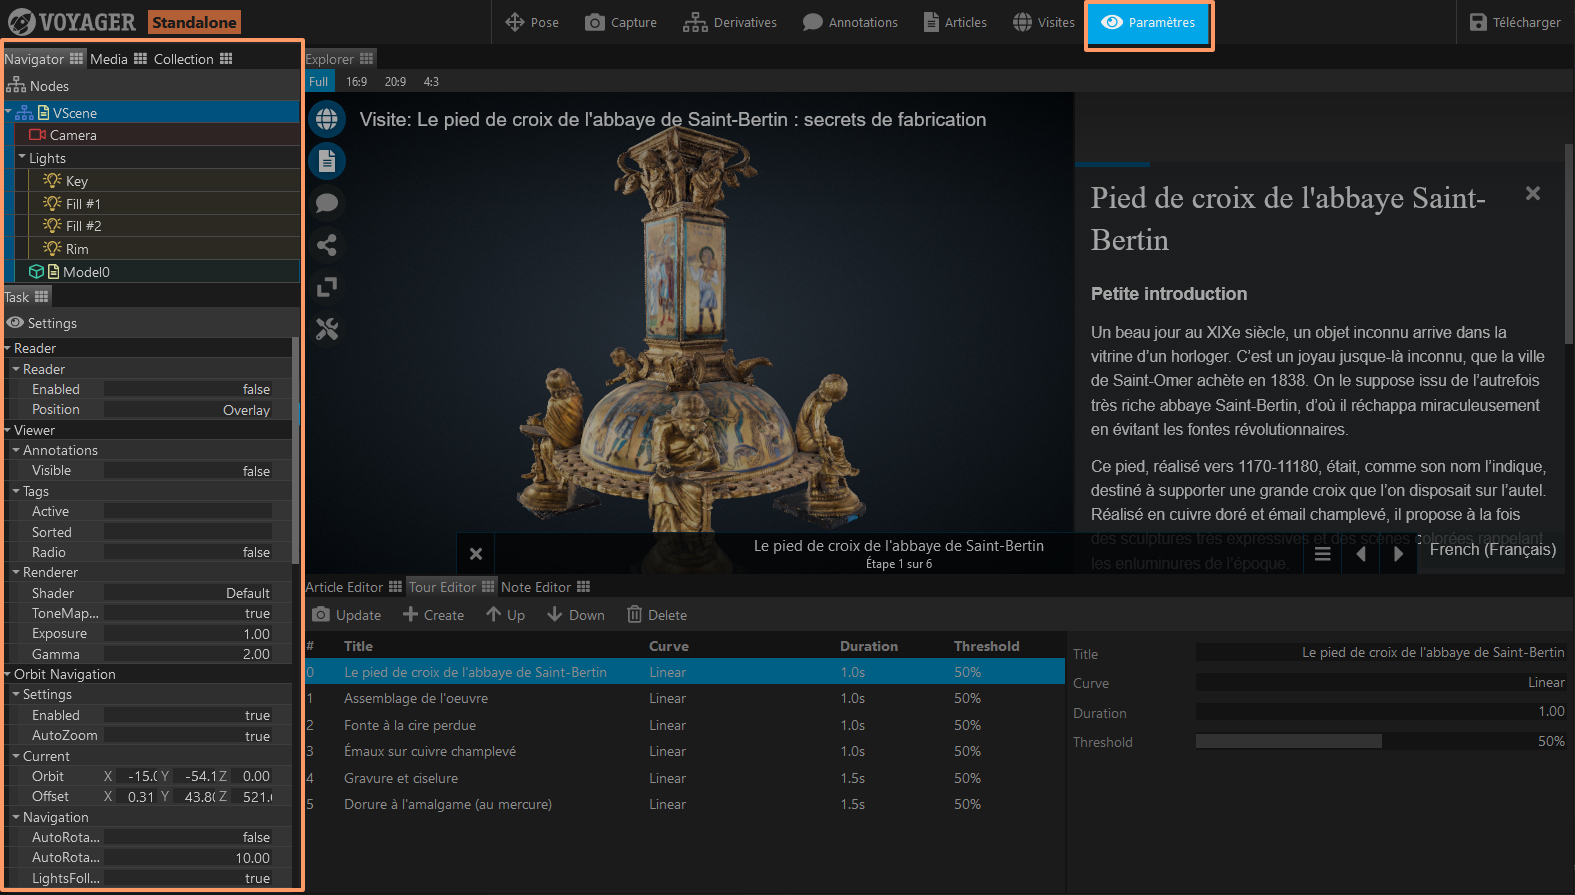
Navigate through your scene and modify all the desired settings. This includes the model(s), lights, scene, camera, etc. Don't forget to click on Update to save the step once you have finished configuring it.
Organize steps
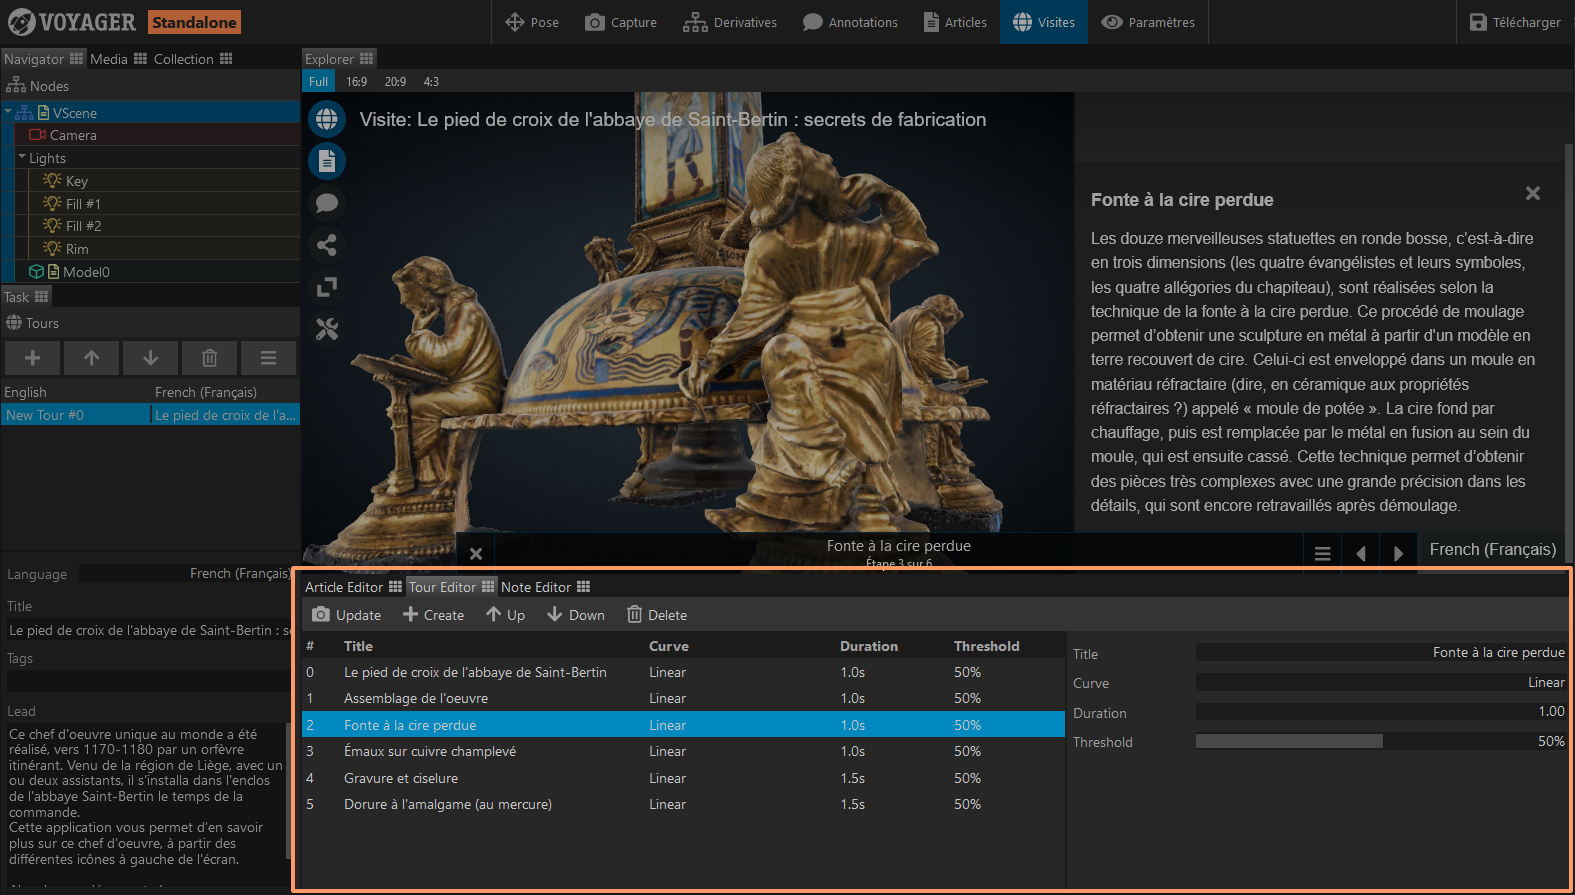
Once your steps are created, you can rearrange them in the Tour Editor by changing their order using the Up and Down buttons.
You can also define the duration and animation curve for the transition between two steps.
Now you have all the tools to create and modify guided tours.