Creating a scene step by step
Learn how to create a 3D scene using the Voyager Story editor. This tutorial assumes that you have a 3D model in .glb format ready to send. Options and recommendations for creating a 3D file for eCorpus are available on this page.
Import a model
Import a .glb model by dragging it into the model list from your files or by clicking the "Upload a scene" button.
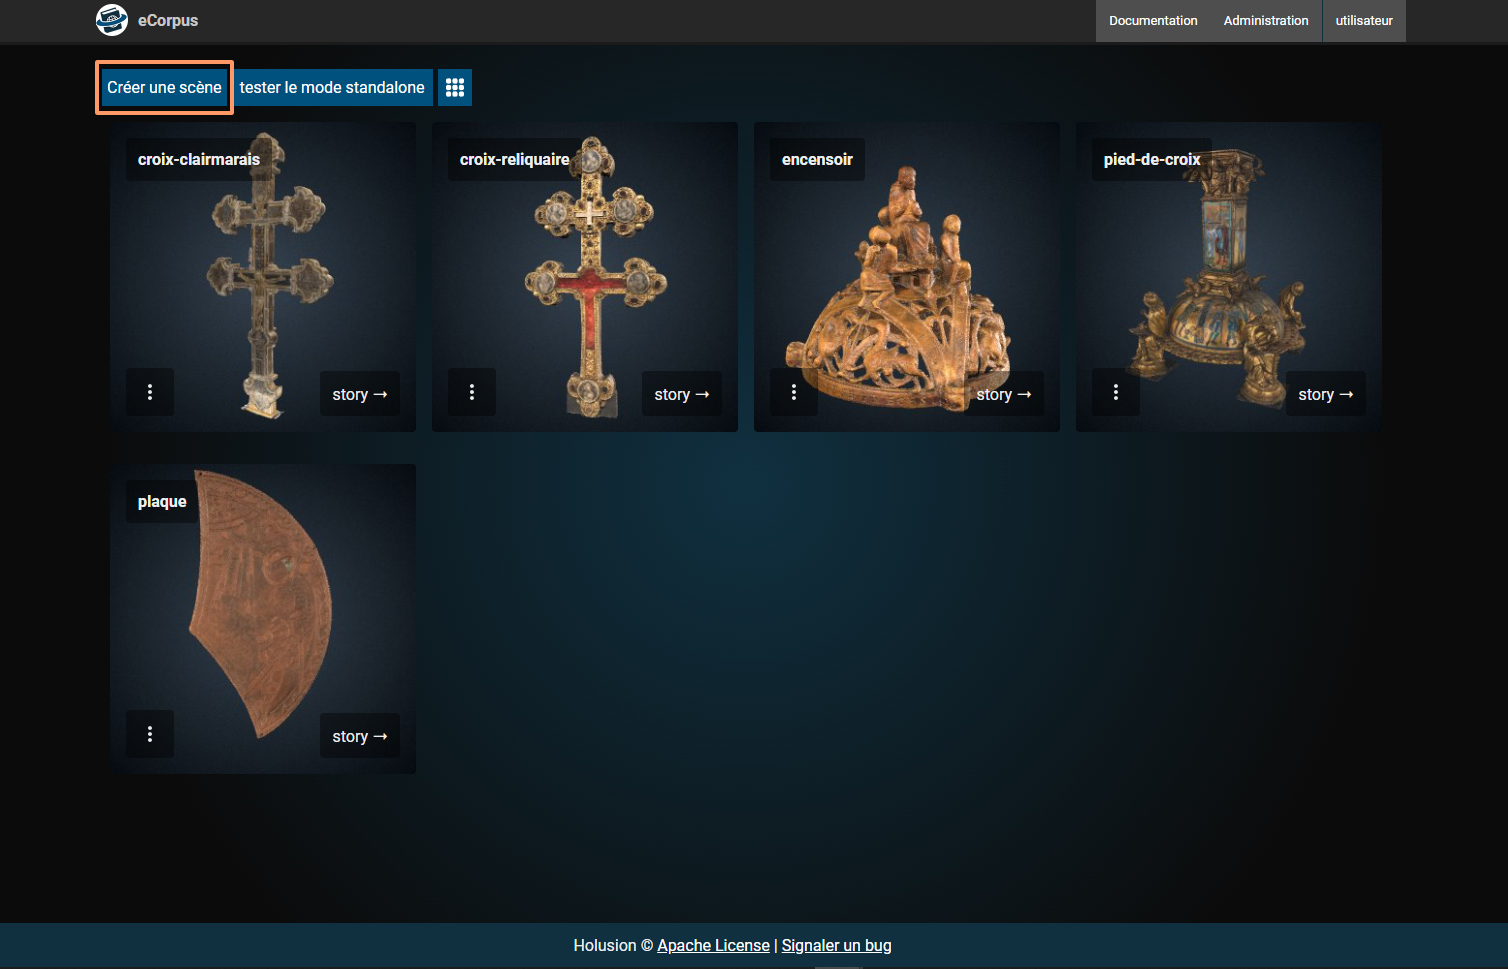
Then click on "story ➝" to access the Voyager scene editor.
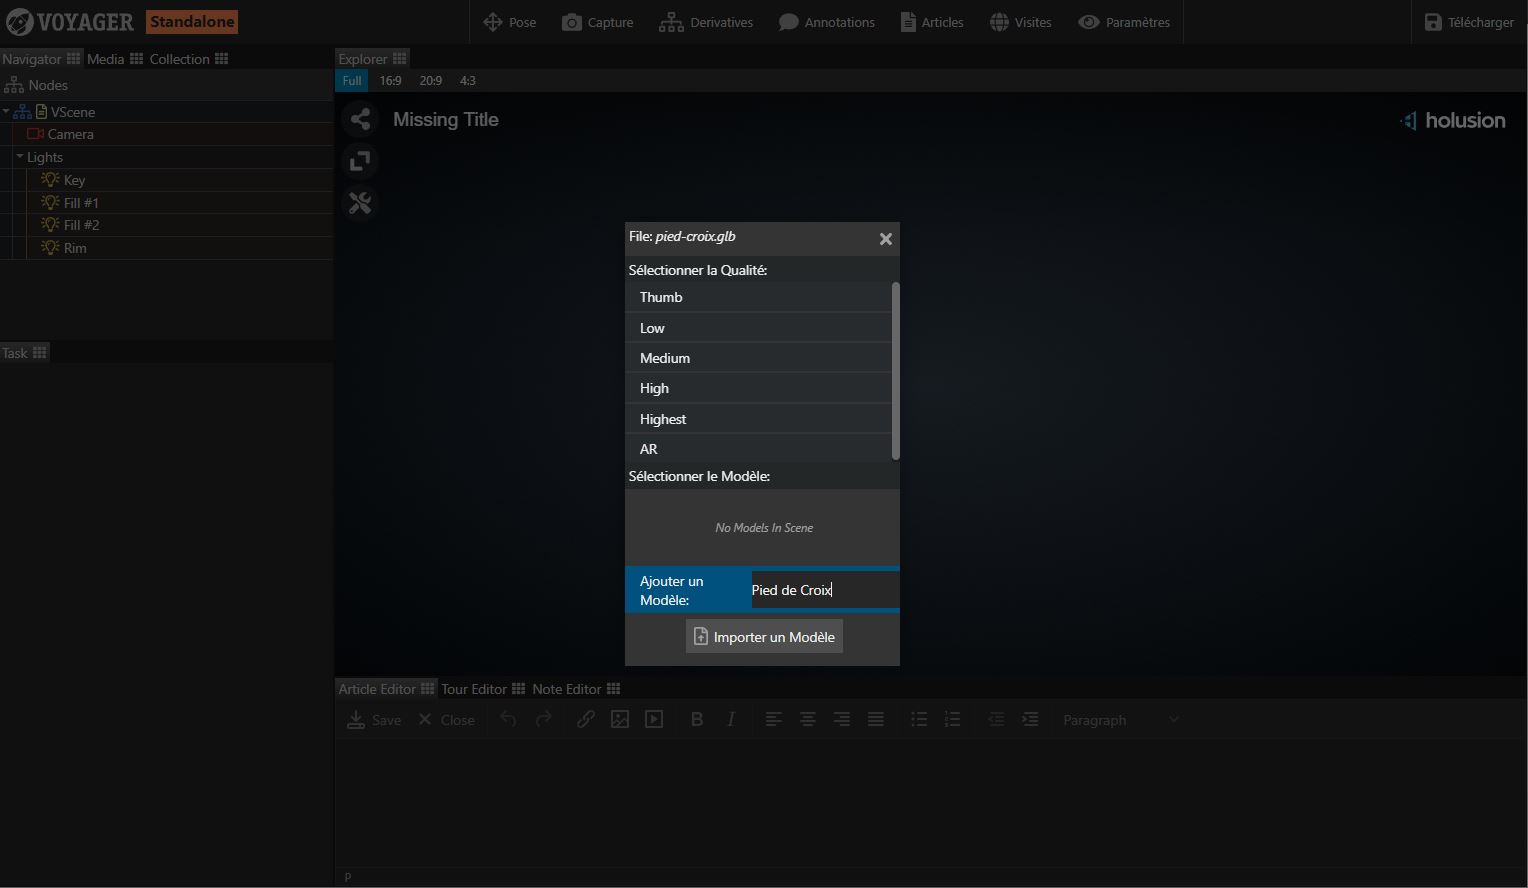
If you want to test the editor without creating a new scene in eCorpus, you can use the editor "standalone" mode.
In this case, import your model directly into the editor.
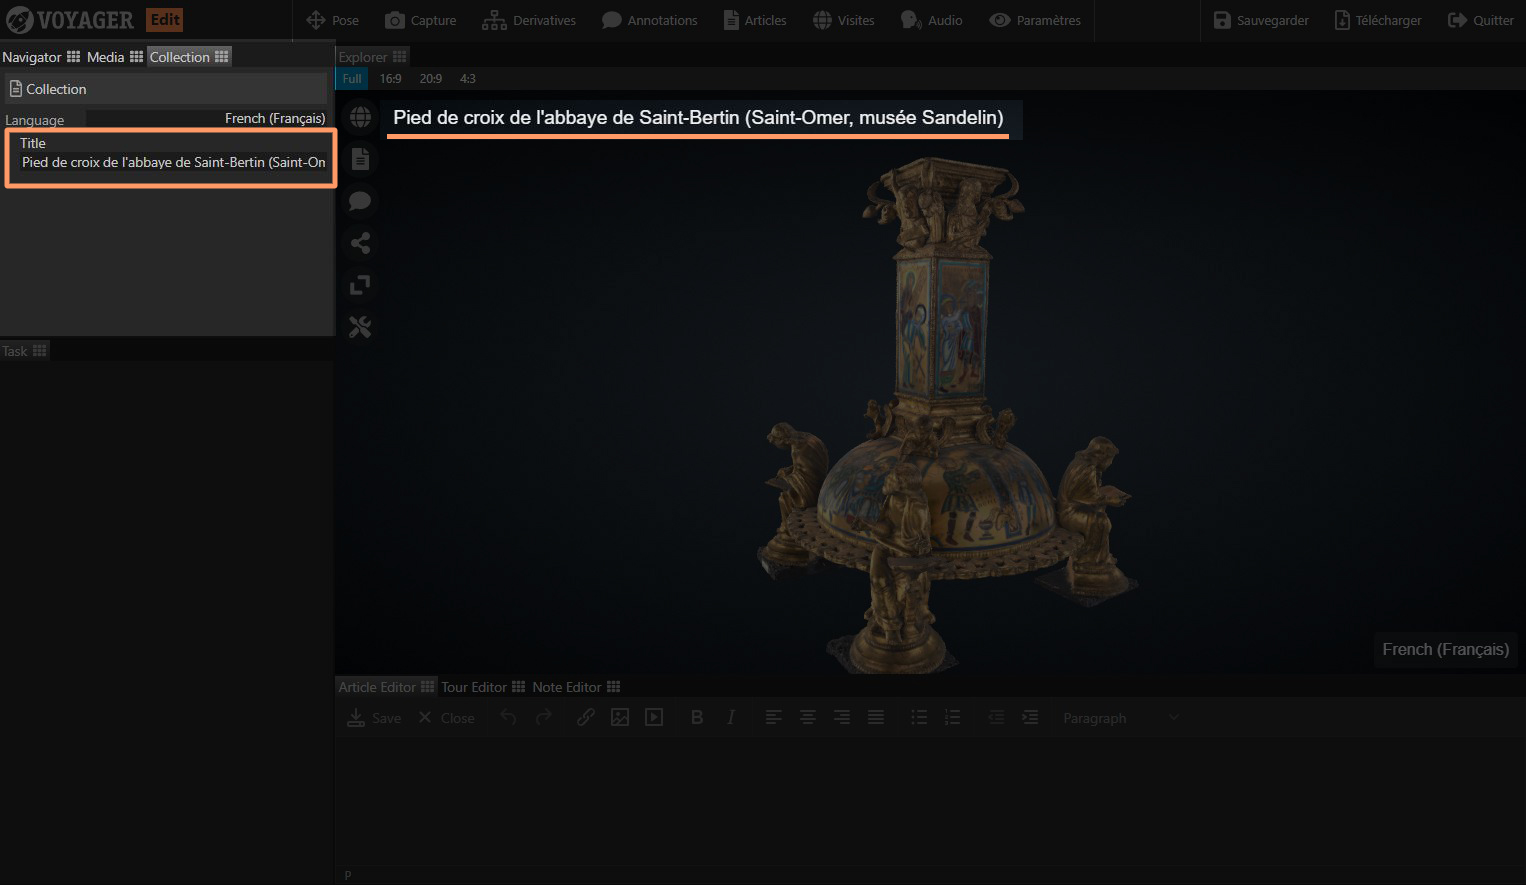
Rename the scene
To rename your scene, go to the "Collection" tab and change the title.
In standalone mode, the default name is "Missing Title".
Position and resize the model
Go to the pose tab and select your model to adjust its position.
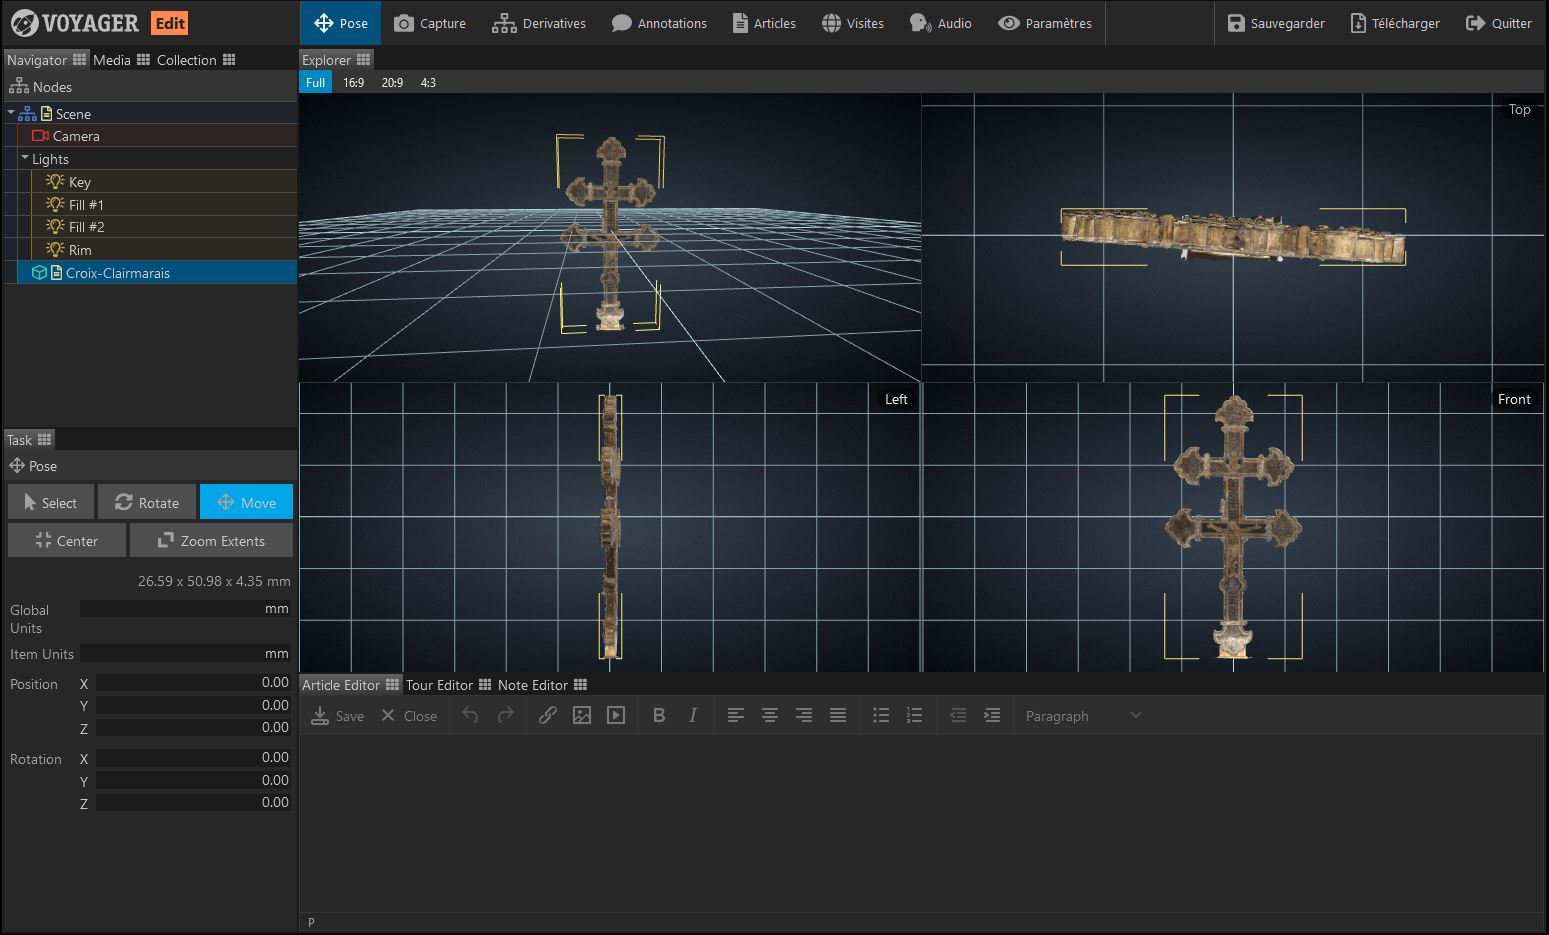
You can then recenter it in the scene and adjust its position and rotation using theTop, Left and Front view windows.
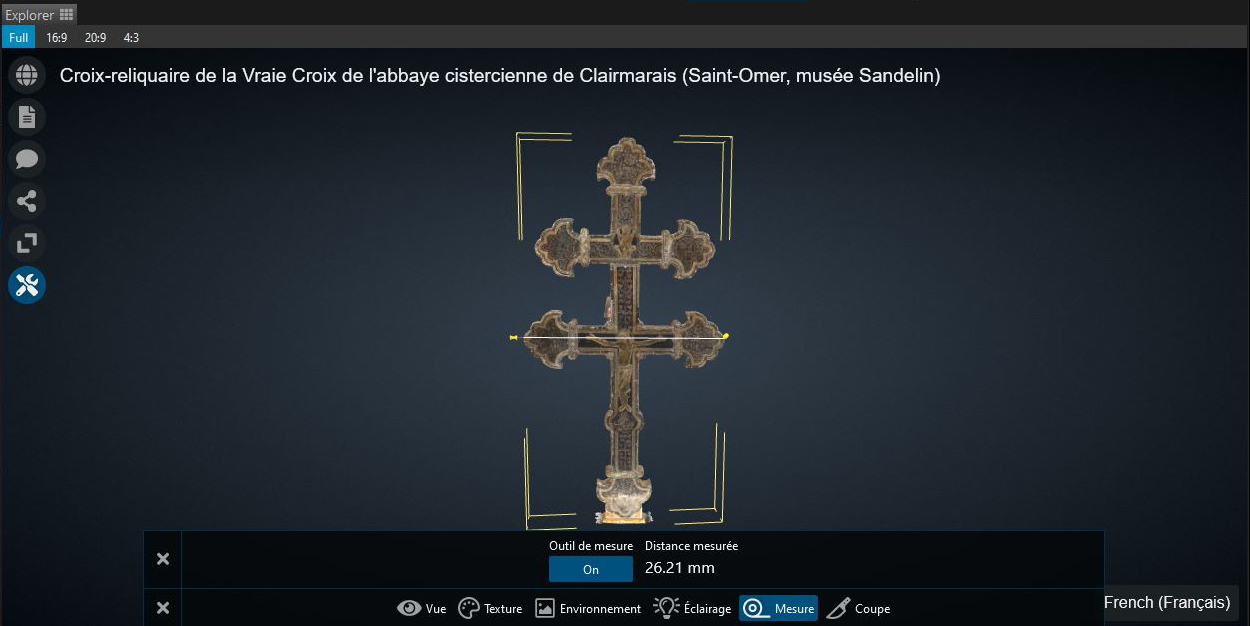
Be sure to check the unit of measurement for the scene and object. You can use the measure tool in the settings to check the size of the model:
Take screenshots and save the state of the scene
Once the model is positioned as desired, go to the capture tab to save its position and generate a thumbnail image.
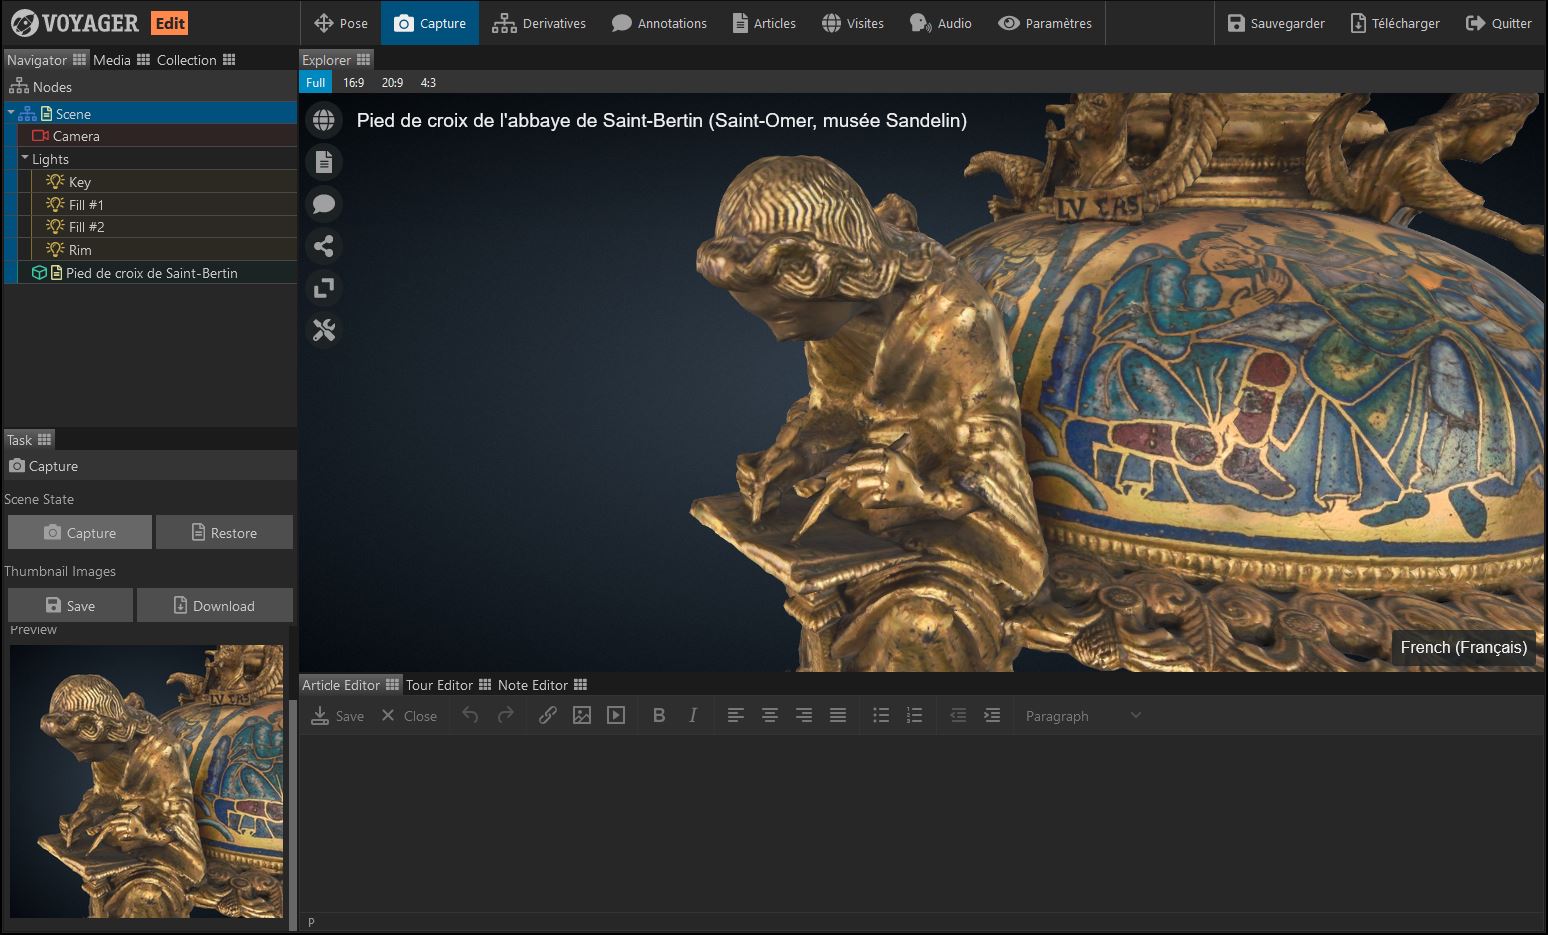
It is necessary to capture the scene to save its state (object position, thumbnail, etc.).
Create and edit annotations
In the annotations tab, select your model then click on the create button to create your new annotation.
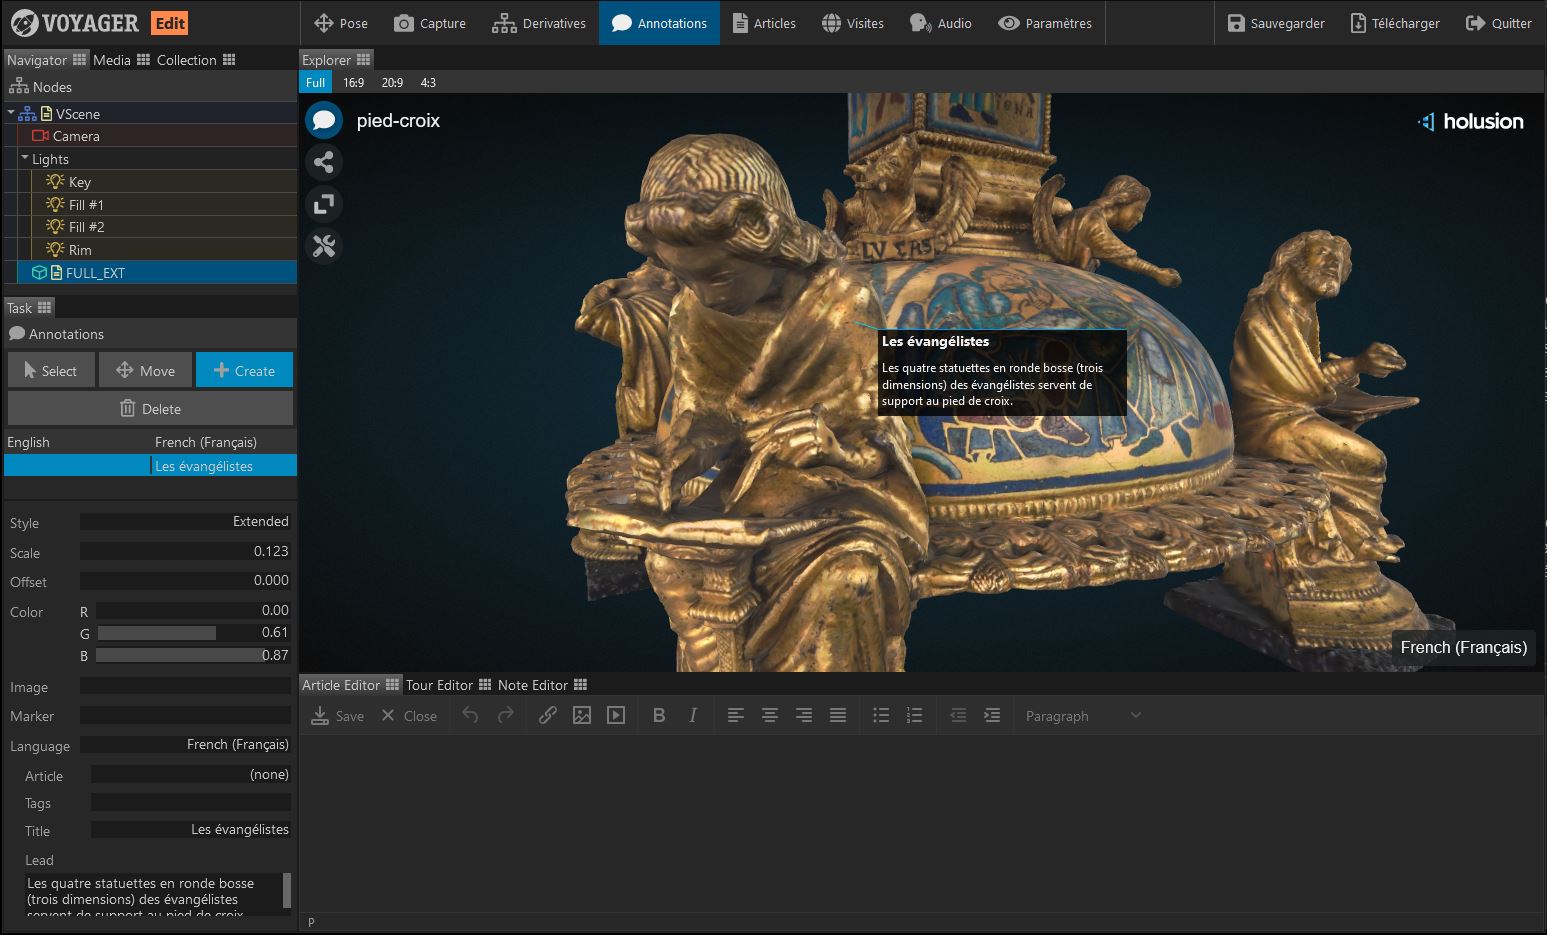
Then click on the element to annotate on your model.
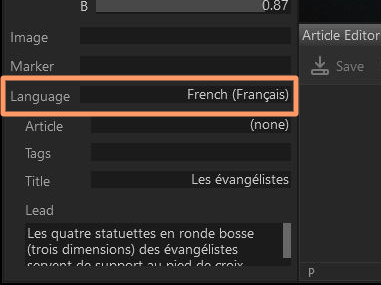
Note that the annotation will be in English by default. Don't forget to change the language in the language settings to the language of your application :
Create and edit articles
In the articles tab, select your model and click the create button to create your new article.
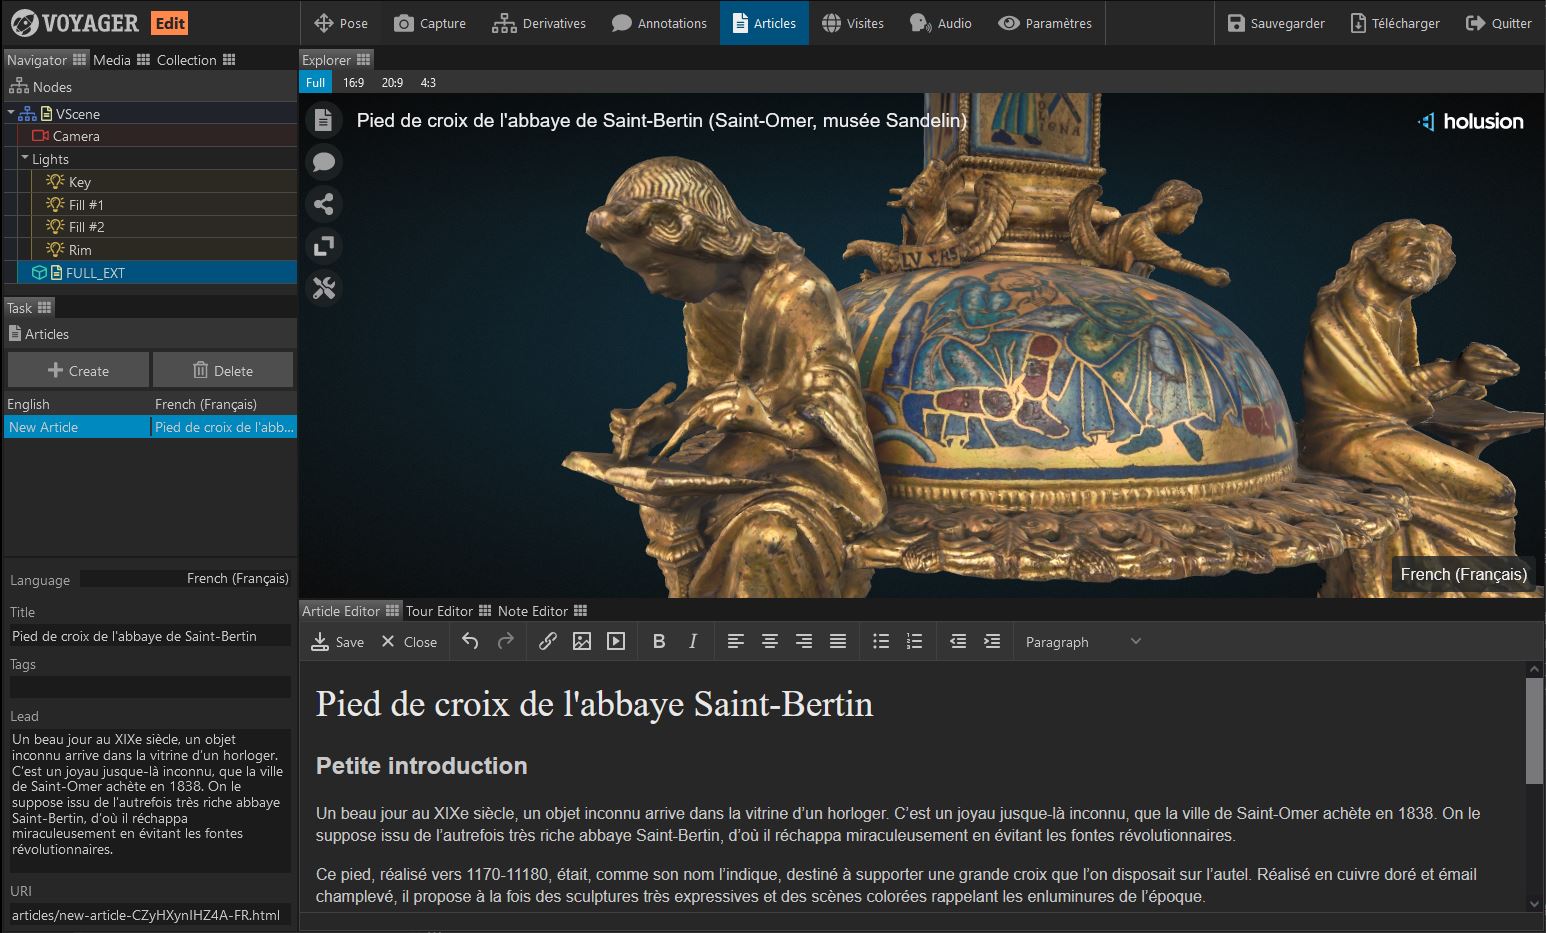
As with annotations, make sure the selected language is that of your application.
You can then define a title, excerpt, and use the editor to write your article.
You can edit your article at any time by clicking on its name in the list.
Create and edit guided tours
In the tours tab, click the button to create a new guided tour.
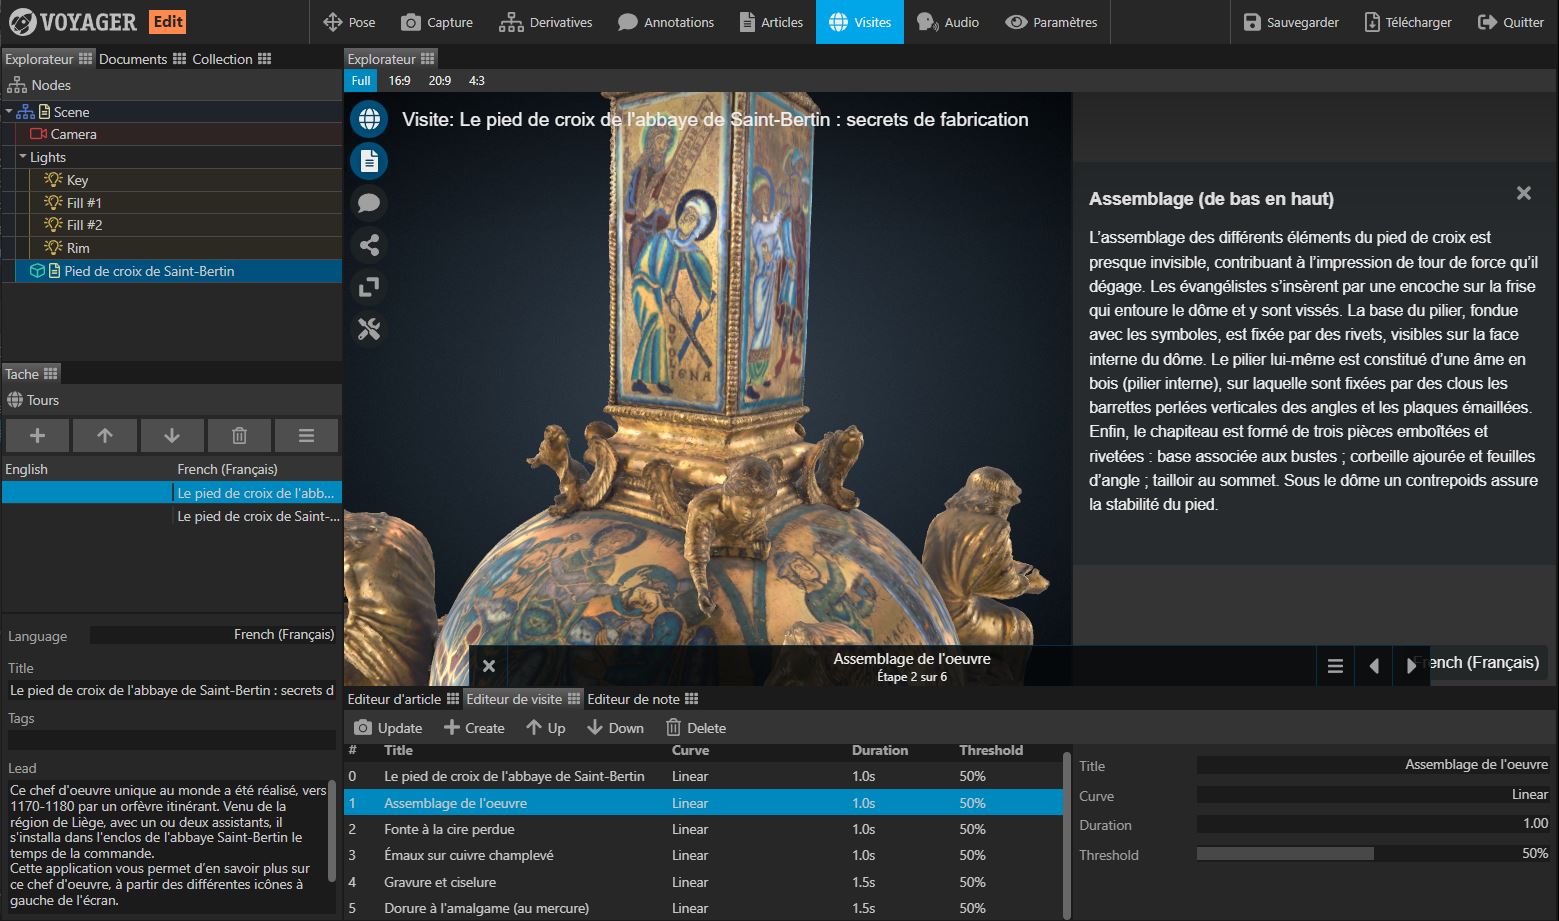
In the tour editor, you can then create each step of your tour. Make sure the selected language is that of your application.
Add a title, then adjust the position of your model, zoom in on key elements, display or hide an article... then click update to save it and move on to the next step.
Save your work
You can also save your scene locally by downloading it with the Download button.