Account management
Your eCorpus Account
This guide will walk you through how to log in to your eCorpus database for the first time and introduce you to the key features available through your user account.
Table of Contents
Database URL and Access
To operate, an eCorpus server must be set up. eCorpus is decentralized and works through independent instances to ensure full data sovereignty for each organization. Data remains interoperable and can easily be shared between users.
- To set up your own eCorpus server, refer to the section: Setting Up an eCorpus Server.
If your organization already hosts an eCorpus server, contact your local reference person or administrator to create an account.
- If you are an administrator of an eCorpus instance, you can refer to the following tutorials: User Management and Data Export.
Logging into Your Account
Each eCorpus instance is independent and tied to a specific institution. To log in, use the URL provided by your administrator.
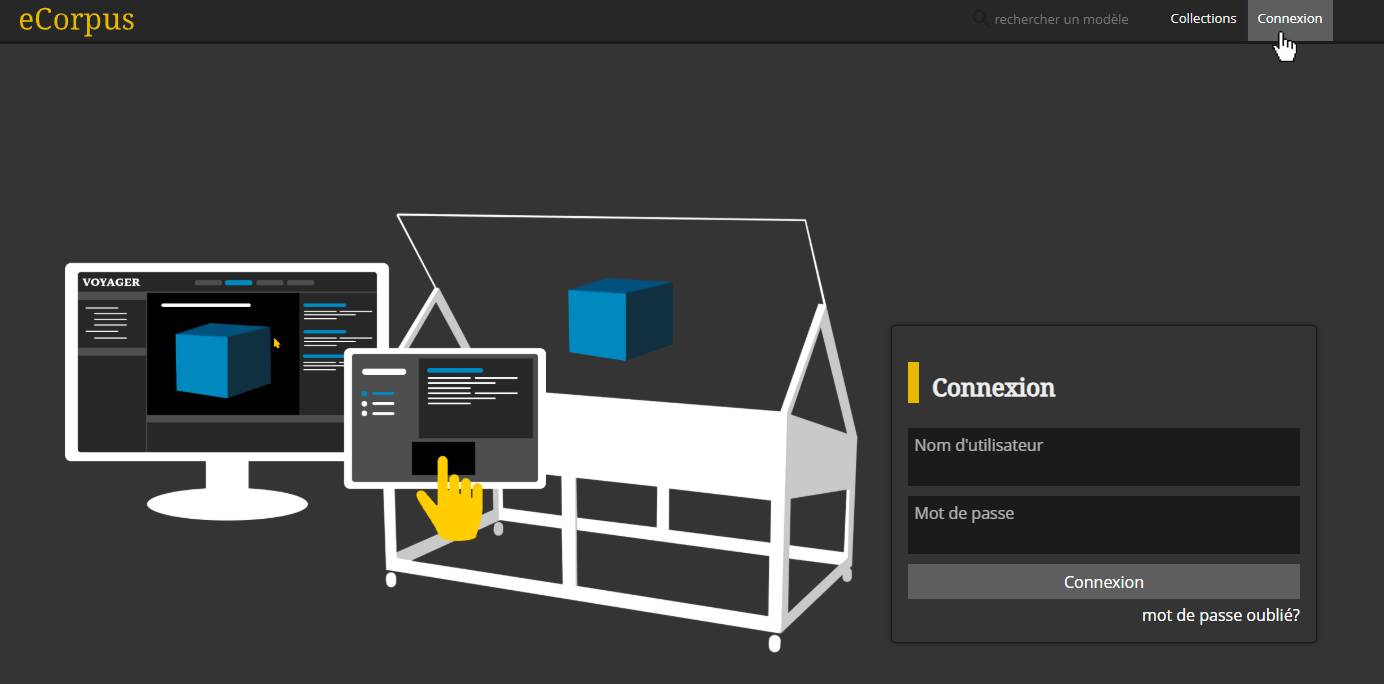
Once on the eCorpus database URL, simply enter your login credentials in the designated fields to sign in. You may also be provided with a direct login link by your administrator.
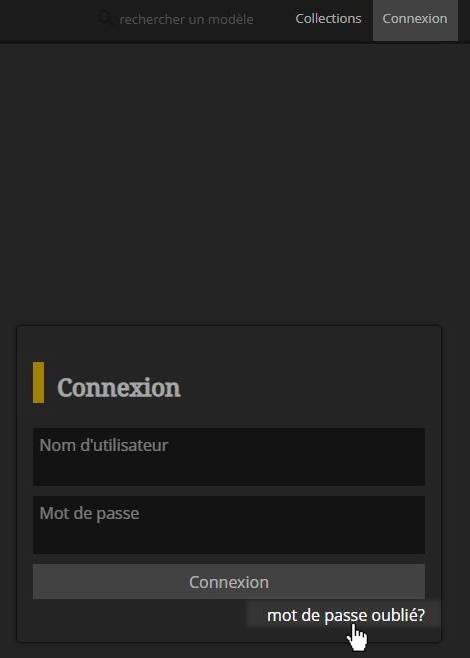
- If you’ve forgotten your credentials, click the “Forgot Password” link to receive an email with a login link to your account.
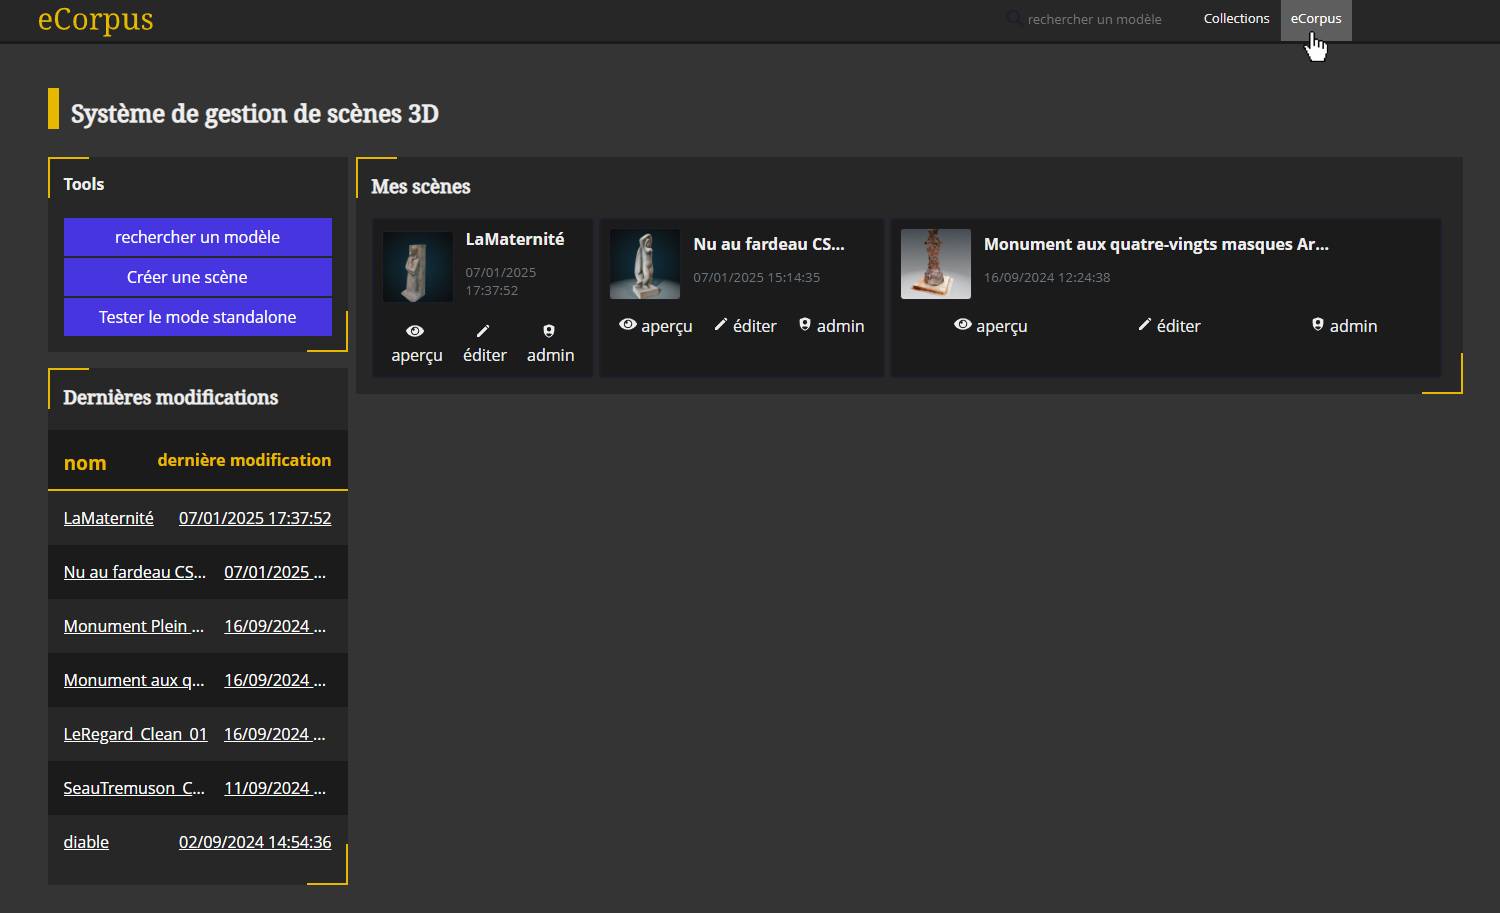
Once logged in, you will have access to the 3D scenes you’ve created, as well as those shared with you by other users.
You will see your username displayed in the top right corner of the page. Click on it to access your user profile settings, where you can update your username, email address, change your password, view archived scenes, and log out.
Your eCorpus Account
Password Recovery
If you forget your password, you can request a new login link at any time by clicking on “Forgot Password” at the bottom right of the login panel.
After clicking the link, simply enter either your eCorpus username or the email address associated with your account, and a new login form will be automatically sent to you by email.
- Don’t forget to change your password afterward for security reasons.
To change your password, go to your user settings by clicking on your username at the top right of the page.

On this page, you can update your username, email address, and password.
You will also find a Log Out button at the bottom of the page.
Uploading a 3D Model to Your eCorpus Account
How to Generate and Upload a 3D Model
To upload a 3D model to your eCorpus account, go to the homepage of your database. You can do this by clicking on the logo at the top left of the page.
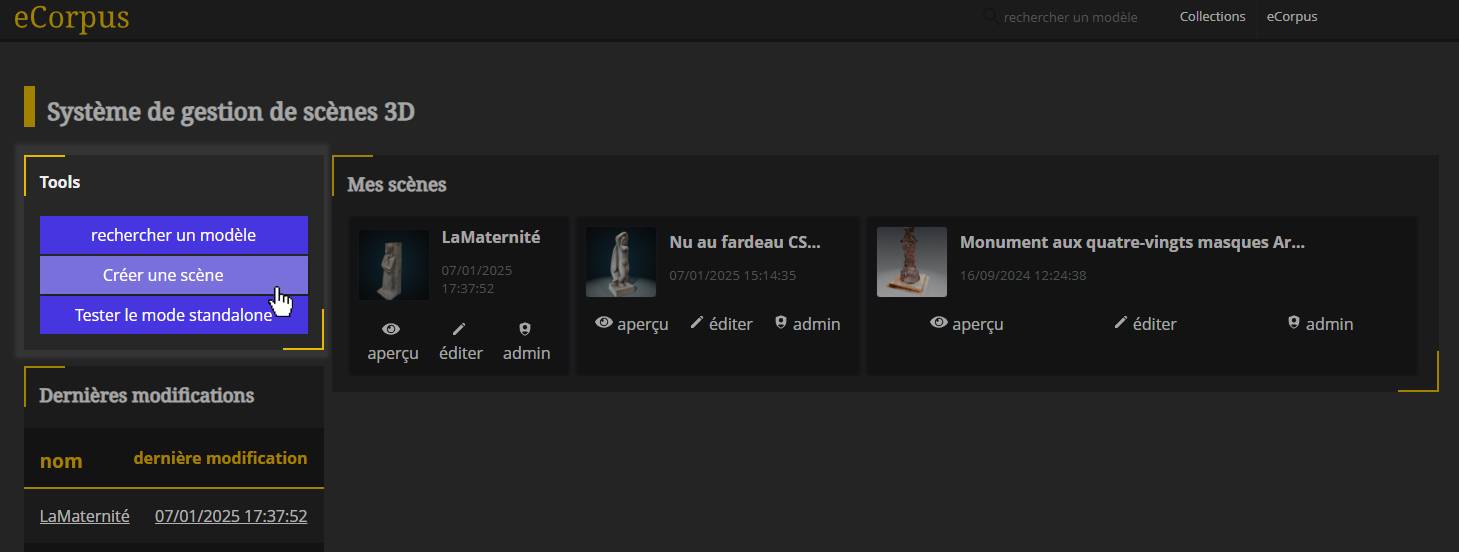
At the top left, you will find a “Tools” tab containing three buttons. Click the “Create Scene” button. The page will then display the eCorpus scene creation settings.
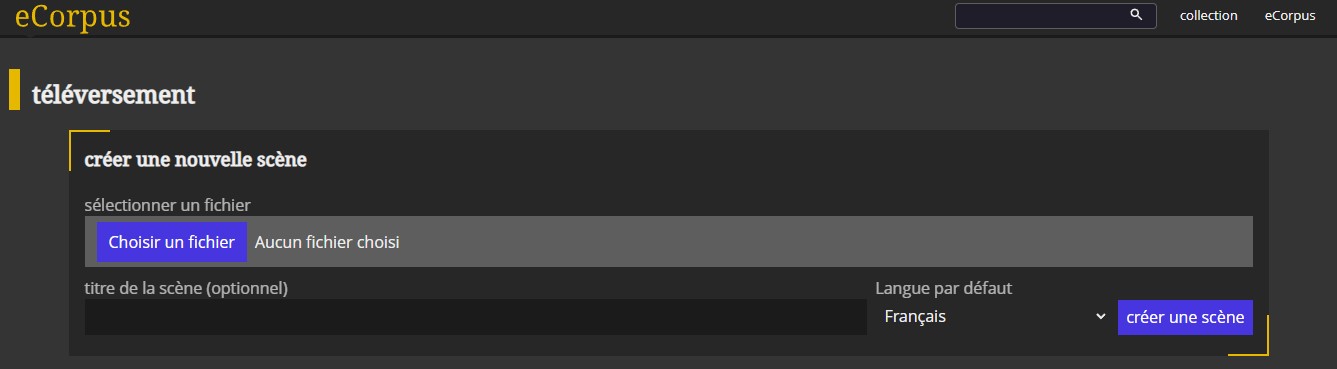
Next, click on “Choose a file”. A pop-up will appear prompting you to select a file from your device to upload to the database.
- You can also drag and drop the file directly into the tab.
Finally, name your scene (this name will appear in the URL, so avoid special characters), select the default language, and click the “Create Scene” button to begin importing your 3D model into the database.
- Only
.glbfiles are supported in the eCorpus editor. To learn how to export a model in.glbformat, refer to this guide: Preparing Your 3D Model.
Testing eCorpus
Contact the eCorpus team for support in setting up a dedicated eCorpus server: contact@ecorpus.eu
Learn More
To explore additional features of eCorpus, visit the guide: Preparing Your 3D Model.