Lighting
A Voyager scene comes with a default environmental light. However, existing lights and their shadows can be edited and additional light sources can be introduced.
Summary
Default Scene Lighting
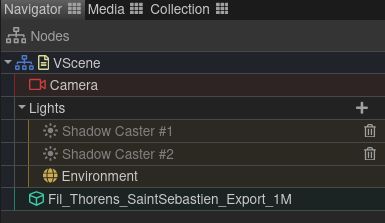
By default, a Voyager scene includes an environment light that simulates the lighting of a photo studio. Two directional lights named “Shadow casters”, initially disabled, are already set up to easily cast a shadow on a floor.
Existing light sources are visible in the Navigator pannel (top left) :
Editing existing lights
There are two ways to edit lights :
- The Light tool, available in the scene toolbar. This allows to set the intensity and the colors (if applicable) of all the lights.
- Each light’s settings. This allows set all the parameters of the lights, including their positions, and their shadow parameters if applicable.
To edit the a light’s settings, click on the Settings task in the top navigation bar. Then, select the light source you want to edit in the Navigator pannel on the left side. Below the Navigator pannel, the Task tab now displays all available settings for the selected light, including its position, color, intensity, and its shadow parameters.
Editing the environment Light
The environment light has only one setting : its intensity. You cannot rotate it, or change its color. It cannot cast any shadows.
However it is heavily influenced by the environment map. It is currently possible to chose between three environment maps using the environment tool or changing the MapIndex scene setting (Environment > Environment > MapIndex). The environment map can be rottated in the scene settings (Environment > Environment > Rotation)
If you do not want to use the environment light, you can disable it by using the Settings task and setting “enabled” to off.
Shadows using the default “Shadow caster” lights
The default Voyager scene comes with two “Shadow Caster” lights. These lights are set up to contribute very little to the overall light intensity, but still project shadows. (See directional lights for more details)
To use them:
- Activate one or both “Shadow Caster” lights using the Settings task. Select the light to activate in the Navigator pannel. Then, in the task pannel just bellow, toggle the “Enabled” setting (
Directional Light > Light > Enabled) - Activate the floor. Using the scene setting (
Floor > Object > Visible) or the environment tool. If the floor is not active, there is no surface on which to cast the shadows. - Activate “ReceiveShadow” on model. If you want cast shadows on the model itself, select the model in the navigator pannel and activate the
ReceiveShadowsetting (Model > Model > ReceiveShadow)
Note: By default, lights follow camera movements. Therefore, if you turn the camera around the object, the shadows will always stretch on the same side compare to your view point. This can be edited in scenes settings in Orbit Navigation > LightsFollowCam.
Custom light sources
Warning
Be careful about editing lights in scenes with already defined tours and annotations. If lights are parts of the properties tracked in tours snapshot configuration, adding or removing lights breaks the scene, preventing further saves. Ideally, lighting should be defined before creating annotations or tours. If a light source is no longer necessary, it can be turned off (by setting “Enabled” to off) instead of deleted.
How to add a light
To add a light, use the “+” button on the right side of the “Lights” in the Navigator pannel (top left) :
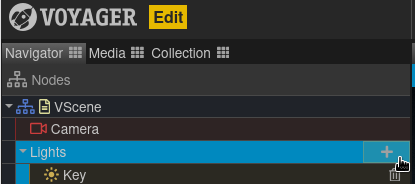
Then select the appropriate type of light and enter a name for this light source. Press “Create Light”.
Types of light
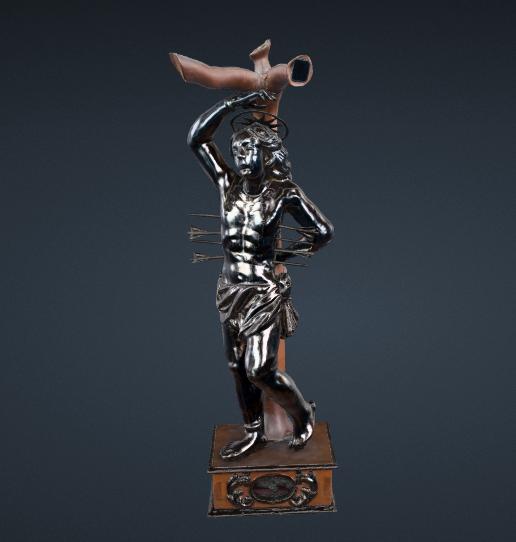
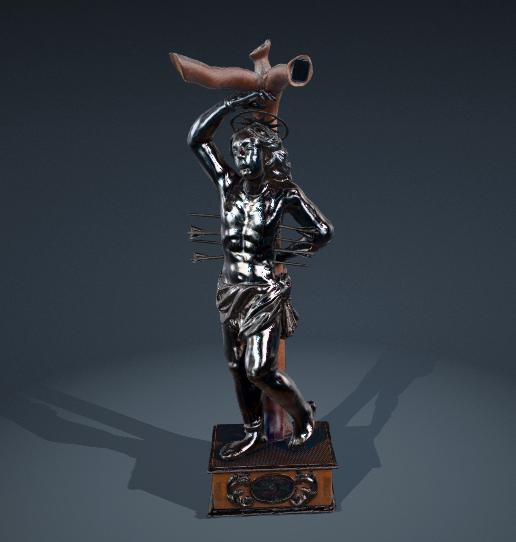
There are six different types of lights available to be added. Each of them is detailed below with an illustration using only one light source. These light sources do not use the environment map. This leads to metallic parts on the statue used as exemples looking very dark. For best results, these should be used with the environment light.
Most light types are influenced by their position. To move a light source, use their position and rotation parameters in their transform matrix.
Note By default, lights follow camera movements. For example, a left-oriented secondary light will always illuminate the left of the Explorer, regardless of whether you are viewing the front or back of the object. This can be edited in Scenes Settings > Orbit Navigation > LightsFollowCam.
| Light Type | exemple | shadows | |
|---|---|---|---|
| Ambient Light | - | ❌ | |
| Hemisphere Light | Sky and ground | ❌ | |
| Directional Light | Sun | ✅ | |
| Spot Light | Spotlight | ✅ | |
| Point Light | Light bulb | ✅ | |
| Rectangle (rect) Light | Windows | ❌ |
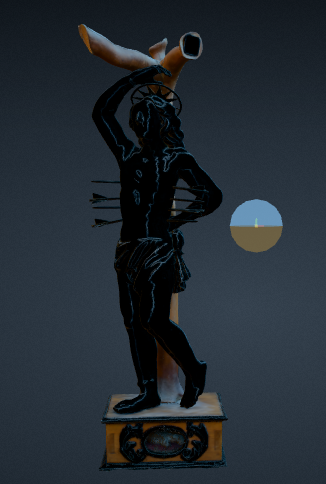
Ambient Light

This light uniformly illuminates all objects in the scene equally. It cannot be used to cast shadows as it does not have a direction. Settings :
- Color : Light color
- Intensity : Light intensity
Hemisphere Light
A light source positioned above the scene, with color fading from the sky color to the ground color. This light cannot be used to cast shadows.
Settings :
- skyColor : Color of the light coming from the top of the scene
- groundColor : Color of the light coming from the bottom of the scene
- intensity : Light intensity
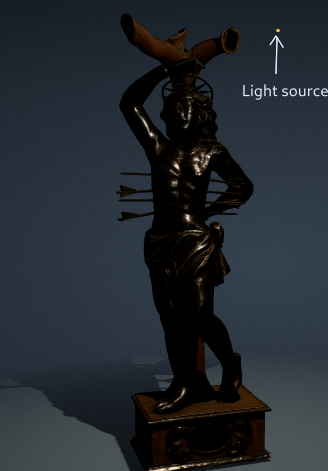
Directional Light
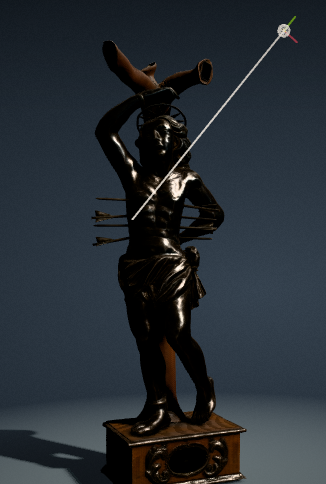
A light emitted in a specific direction. This light will behave as though it is infinitely far away and the rays produced from it are all parallel. The common use case for this is to simulate daylight; the sun is far enough away that its position can be considered to be infinite, and all light rays coming from it are parallel. This light can cast shadows. It is equivalent to the “Sun light” in Blender.
With some specific settings, this is the type used for the default “Shadow casters”. These have a very low light intensity of 0.01 (to avoid contributing additional light to the environment light) and very high shadow intensity of 50 or 60 (to still project a visible shadow).
Settings :
- Color : Light color
- Intensity : Light intensity
- Shadow Settings :
- Resolution : Level of shadow detail
- Blur : Higher values produce softer, more blurred shadows
- Intensity : intensity of shadows
Spot Light
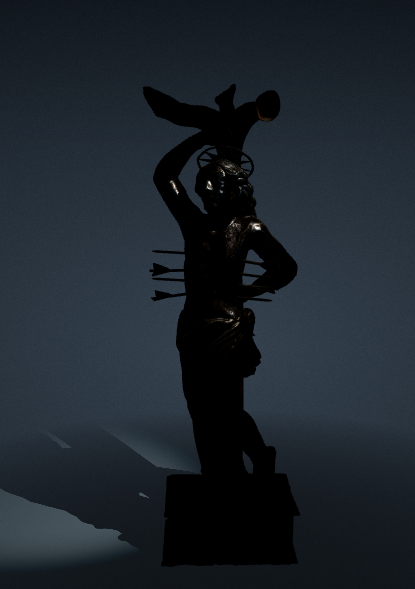
This light gets emitted from a single point in one direction, along a cone that increases in size the further from the light it gets. This light can cast shadows.
Settings :
- Color : Light color
- Intensity : Light intensity
- Distance : Maximum range of the light. 0 means infinite
- Angle : The angle of the cone of dispersion of the spotlight. The higher the angle, the wider the splotlight.
- Penumbra : Percent of the spotlight cone that is attenuated due to penumbra. Value range is [0,1]
- Decay : The amount the light dims along the distance of the light.
- Shadow Settings :
- Resolution : Level of shadow detail
- Blur : Higher values produce softer, more blurred shadows
- Intensity : intensity of shadows
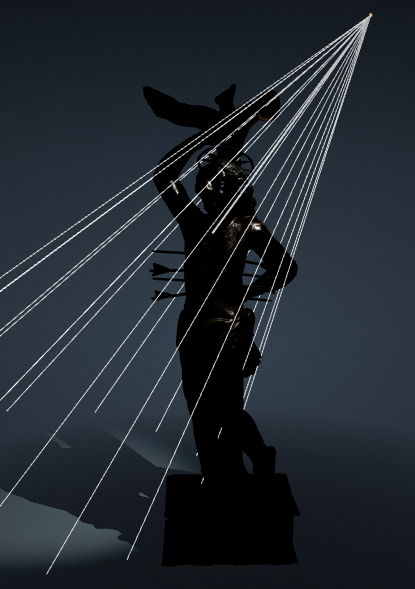
Point Light
A light that gets emitted from a single point in all directions. A common use case for this is to replicate the light emitted from a bare lightbulb. This light can cast shadows.
Settings :
- Color : Light color
- Intensity : Light intensity
- Distance : Maximum range of the light. 0 means infinite
- Decay : The amount the light dims along the distance of the light.
- Shadow Settings :
- Resolution : Level of shadow detail
- Blur : Higher values produce softer, more blurred shadows
- Intensity : intensity of shadows
Rectangle (rect) Light
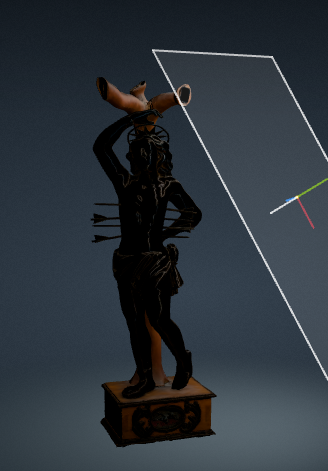
This light emits uniformly across the face a rectangular plane. This light type can be used to simulate light sources such as bright windows or strip lighting. This is the equivalent of an “Area light” in Blender.
Settings :
- Color : Light color
- Intensity : Light intensity
The size of the rectangle can be edited using the scale parameters of the transform. Do NOT set any scale to 0.