Model import and scene creation
Getting Started with eCorpus
eCorpus is open-source software designed to preserve, annotate, and share 3D models. This series of tutorials is intended to help you explore the features of eCorpus as a user, editor, and administrator.
- eCorpus uses the 3D viewer DPO-Voyager.
Exploring an eCorpus Scene
Table of Contents
Preparing an eCorpus Scene
Create an eCorpus Scene
How to Generate and Upload Your 3D Model
To upload a 3D model to your eCorpus account, go to the main page of your database, accessible by clicking the logo in the top-left corner.
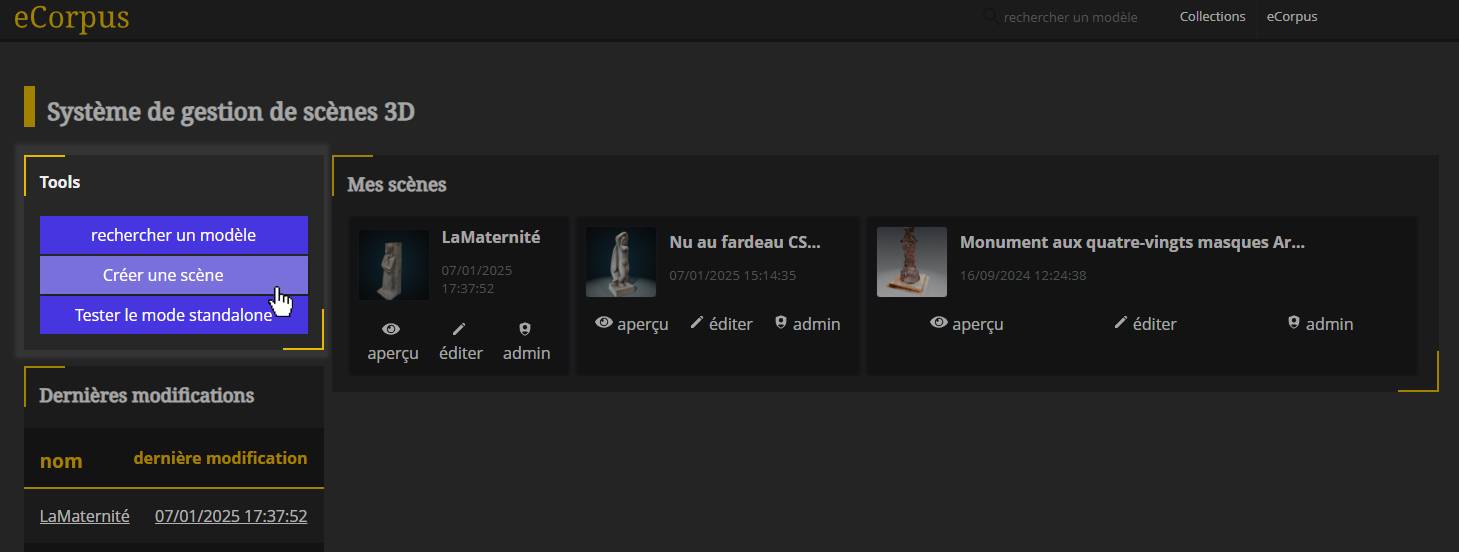
At the top-left, open the “Tools” tab, which contains 3 buttons. Click “Create a Scene” to open the eCorpus scene creation settings.
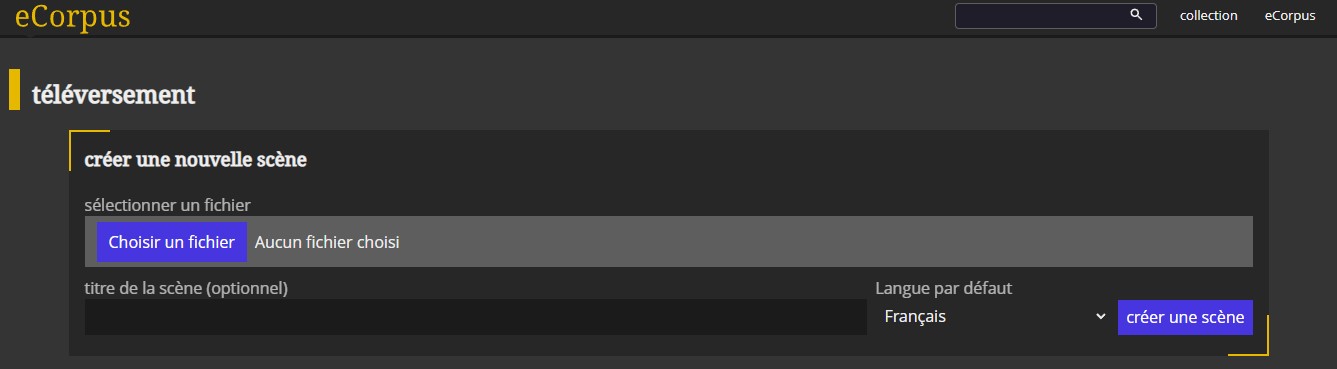
Click “Choose a File” to open a pop-up and select the file to upload from your computer.
- You can also drag and drop your file directly into the tab.
Next, name your scene (avoid special characters as the name appears in the URL), select the default language, and click “Create Scene” to begin uploading your 3D model.
- Only
.glbfiles are supported in the eCorpus editor. To learn how to export a model in.glb, refer to this section. - If you are an administrator, you can also import eCorpus scenes in
.zipformat from another eCorpus instance. To learn how to export a scene as a.zipfile, see this section.
Manage Scene Options
After uploading your 3D model, prepare your scene by setting editing collaborators, language, license, and key metadata (author, location, creation date, etc.).
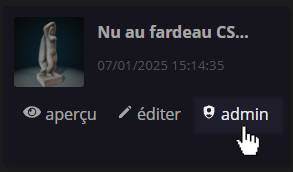
Once uploaded, your scene appears under “My Scenes” with a default wireframe cube thumbnail and two clickable buttons below it.
The View Button
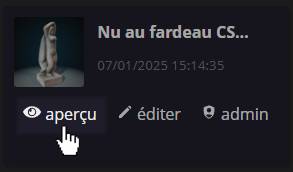
This opens your 3D scene in view-only mode.
The Edit Button
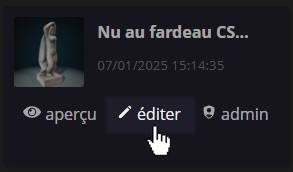
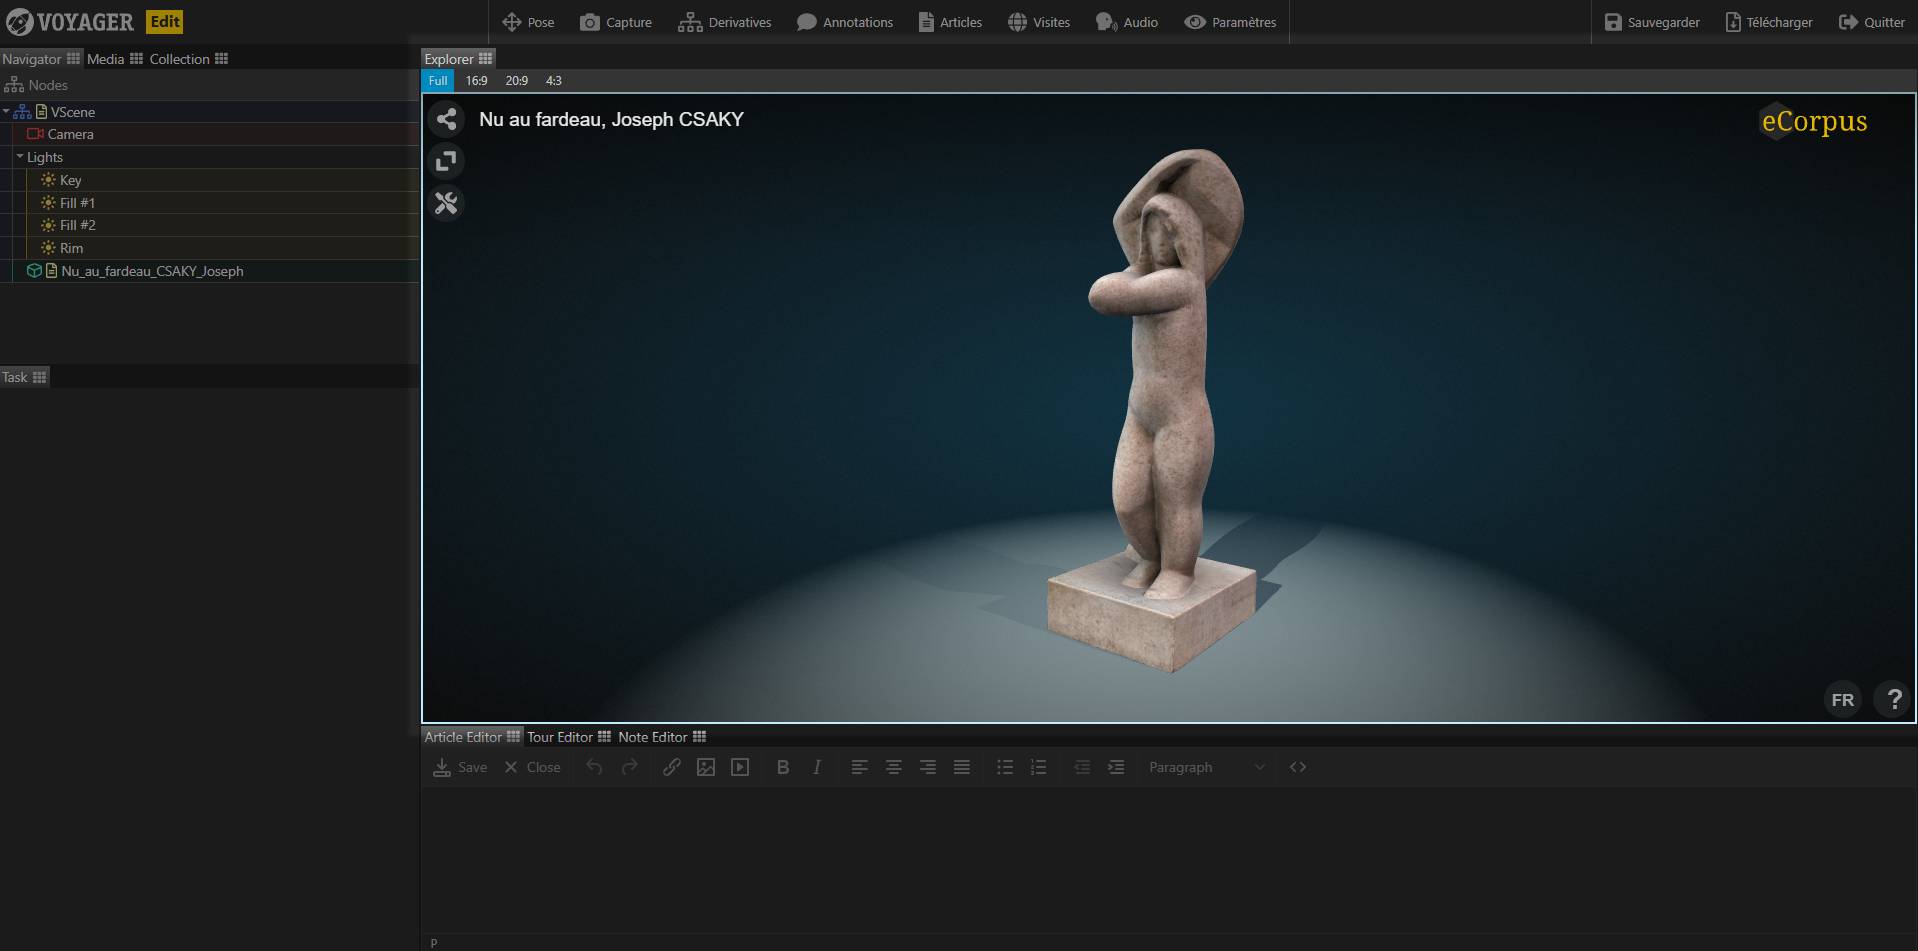
This opens the scene in edit mode, allowing you to add or modify content. In the editor, you’ll first see the central “Explorer” window with your imported model. Use your mouse to change the viewing angle. For more details, see Scene Setup Essentials.
Manage Scene Permissions
To manage permissions, click on the scene name. Under “Access Rights”, you’ll find a list of users and their permissions.
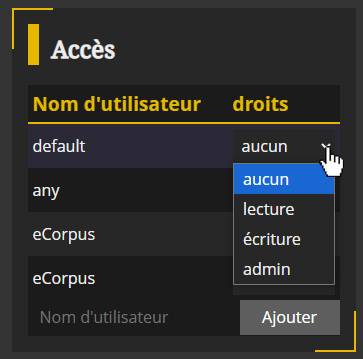
Permission levels:
- None: Cannot access the scene.
- Read: Can view the scene but not edit it.
- Write: Can view and edit the scene.
- Admin: Can edit and manage permissions for the scene.
Users:
- Public Access: Applies to anyone with the link, even if not logged in.
- Authenticated User: Applies to anyone with an account on your database.
To assign rights to a specific user, enter their exact username and click “+”.

You’ll also see four buttons on the left:
Edit
Opens the editor. See Scene Setup Essentials.
View
Opens the scene in viewer mode.
Download the Scene
Downloads a .zip containing:
- The
.jsoneCorpus scene file - The
.glbmodel - Annotations, articles, and guided tours data
Useful for:
- Exporting models for external use (e.g., 3D printing)
- Migrating scenes to another eCorpus instance
History
Shows the full edit history. You can restore a previous version by hovering over a step and clicking “Restore”.
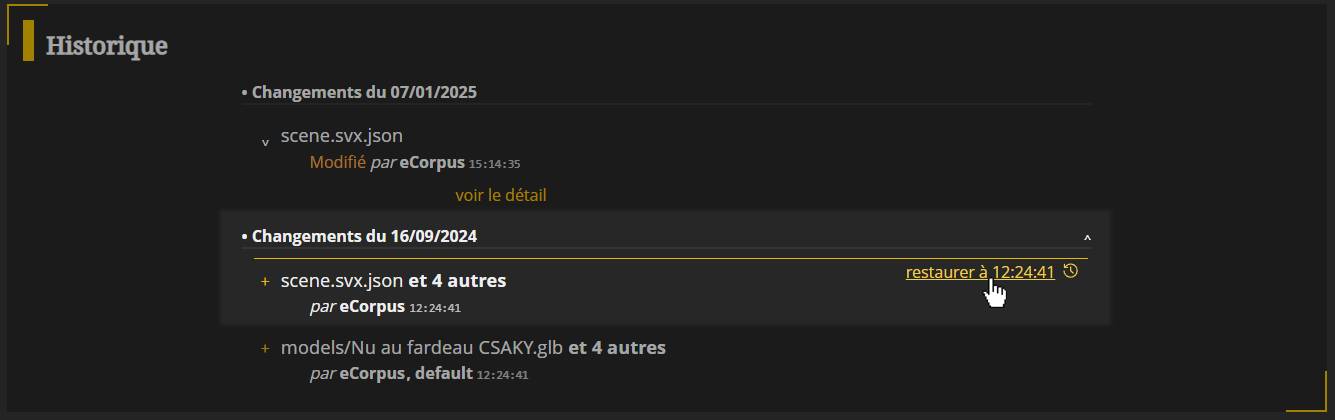
Note: Restoring does not delete changes; it adds new entries to revert the scene to its previous state.
Add Scene to a Collection
You can organize scenes into collections using Tags.
At the top right of the Access Rights panel, click “Edit Tags” to assign or create tags.
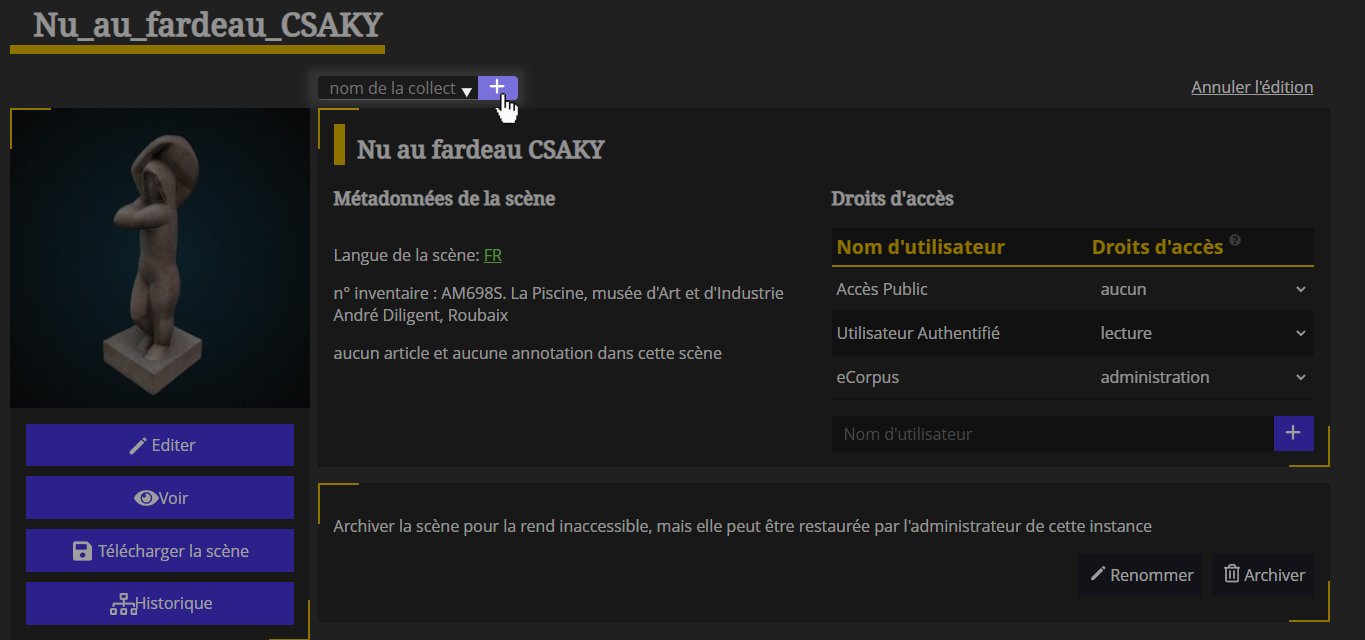
- To use an existing collection, select it from the dropdown menu.
- To create a new one, type its name and click the + icon.
Scene Setup Essentials
Quick Overview of Voyager Story Interface
To edit your scene
- pose Position and resize the model.
- capture Take screenshots and save the state of the scene.
- derivatives Manage derivatives (different levels of detail).
- annotations Create and edit annotations.
- articles Create and edit articles.
- visites Create and edit guided tours.
- audio Add and organize audio.
- parametres Edit scene settings.
To explore your scene
- Display tours.
- Display articles.
- Display annotations.
- Share the scene.
- Fullscreen mode.
- Tools and settings.
basic controls
-
Hold down left click and move your mouse to rotate the object.
-
Hold down the mouse wheel to change the zoom of the object. Moving your mouse forward will cause you to zoom in on the object, moving it back will have the opposite effect.
-
Hold down right click and move your mouse to move the object in space.
You will notice that the scene name is displayed at the top left of this window. To change it, you need to go to the window on the far left, in “Collection” (the window displays “Navigator” by default).
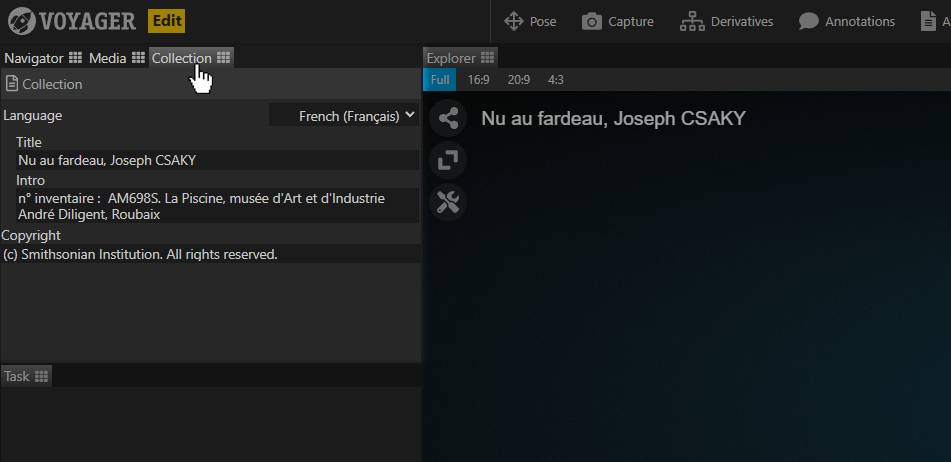
Here you can change the language of the scene, its title and the introduction which will be displayed in pop-up each time a user opens the scene. Changing the language will add a new language to the scene and will not remove changes made to the original language.
You can therefore have several languages on the same stage.
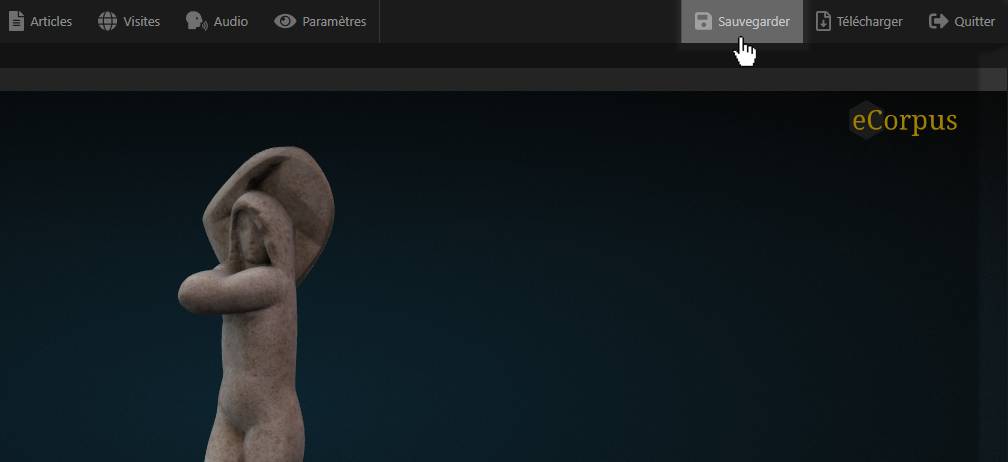
To save your changes click on the “Save” button at the top right.
Create a thumbnail picture
To create a thumbnail of your 3D scene, go to the “Capture” tab, just below the “Explore” window.
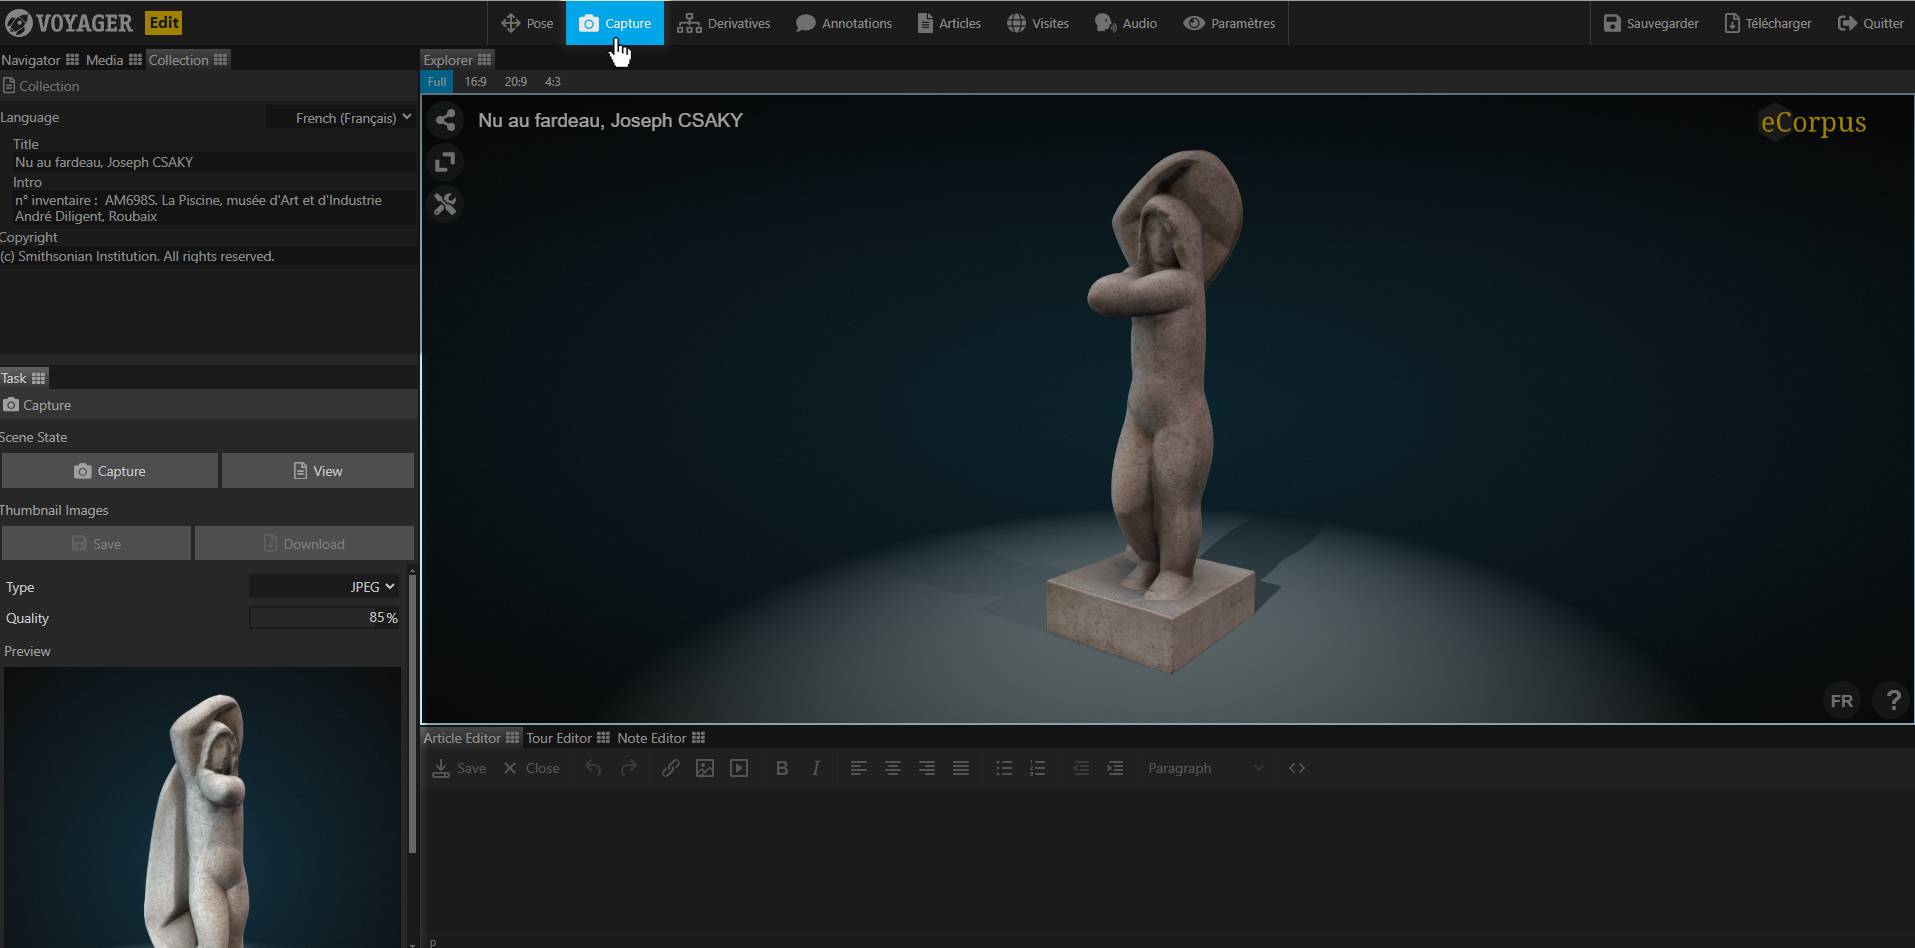
Once the tab is clicked, you will notice new options at the very bottom left of your screen. In “Scene State”, click on the “Capture” button so that the editor takes a “photo” of the scene in its current state.
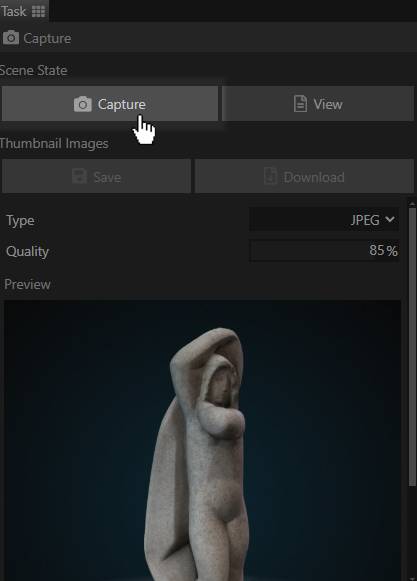
A preview is then updated in the “Preview”. Do not hesitate to orient your object differently and move it if necessary. You can repeat the capture as many times as necessary.

Once you are satisfied with the image, you can save it by clicking on the “Save” button below the “Capture” button.
Be careful, saving the scene without having saved the thumbnail in the Capture tab is not enough, you risk losing your thumbnail image.
Center your model automatically
When importing your 3D model, the model location may not be correct. If you notice that your model is off-center in the scene, or that its center of rotation does not seem correct, you can correct its location via the “Pose” tab, at the top of the Explorer.
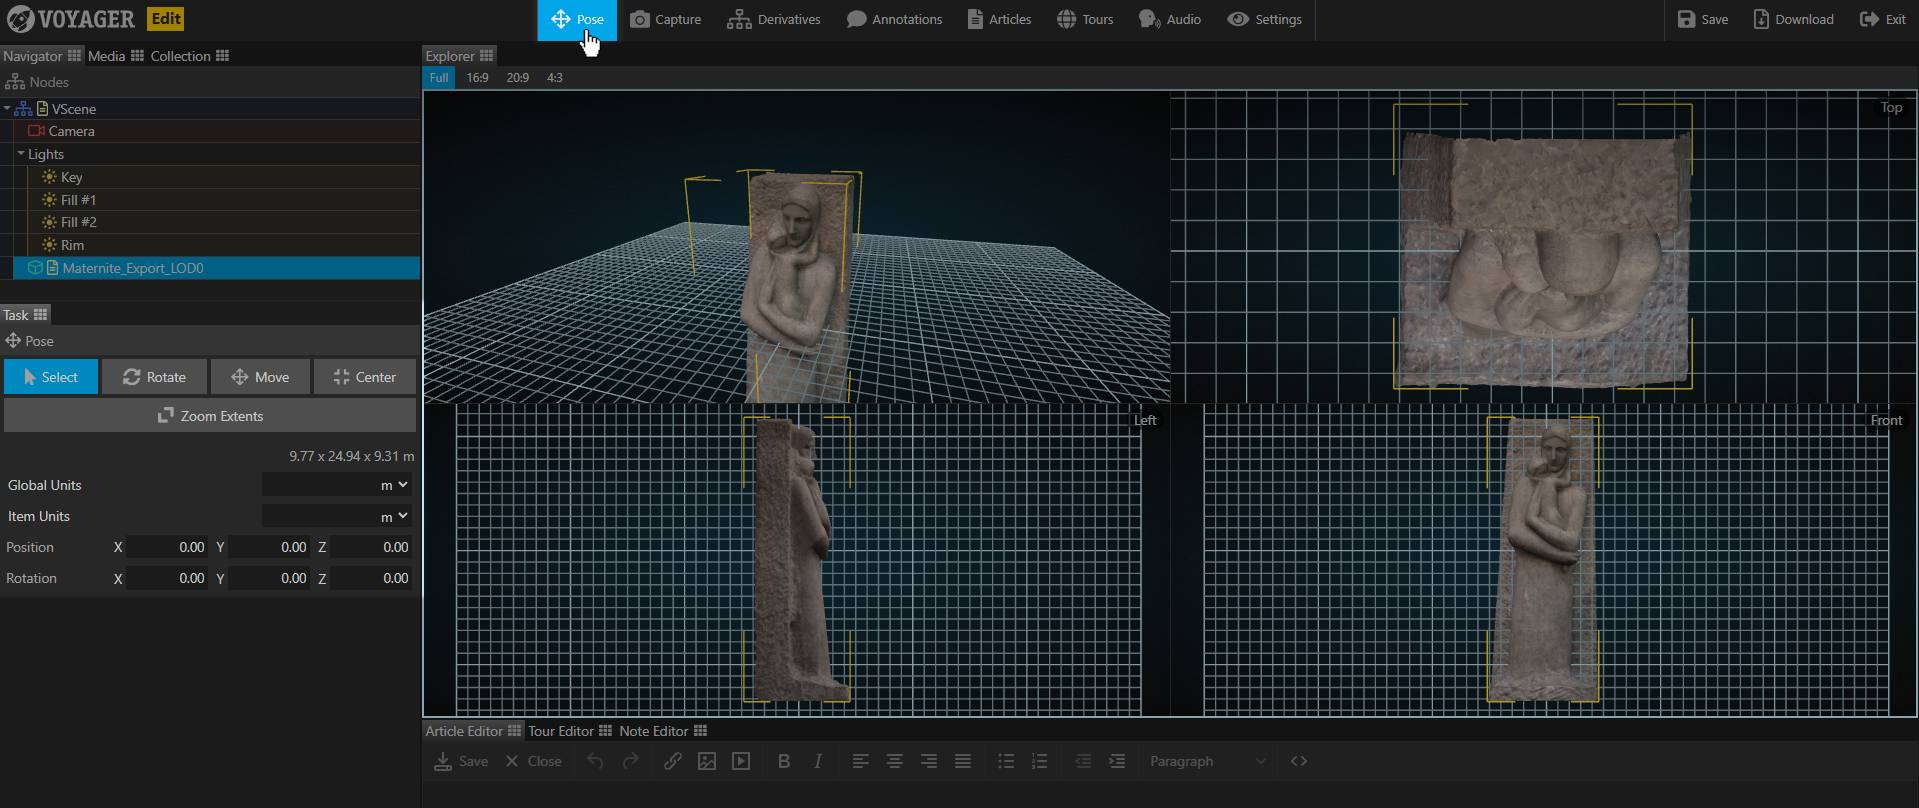
By clicking on “Pose” you will notice a change in the Explorer. The 3D view is now divided into 4 planes, showing a 3/4 view, a top view, a side view, and finally a front view of your scene.
You will also notice the appearance of a virtual grid. This grid only serves as a guide to reposition your model, so it will not appear on your final scene.
The center of this grid corresponds to the center of rotation of the scene. We therefore advise you to reposition your object so that its center of rotation is placed in the center of this grid.
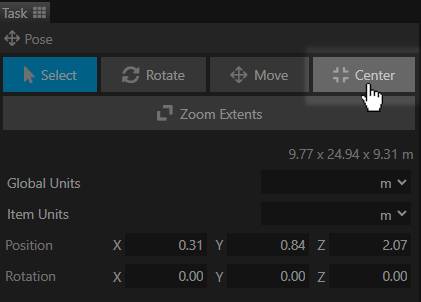
You can easily recenter your model, simply click on the “Center” button, to the far right of the tab.
Auto-recentering may not be enough to resolve placement issues. To reposition your model manually, simply change the values in the Position slots.
An advanced tutorial on editing your object’s pivot point will soon be available on the platform.
Learn More
If you want to learn more about eCorpus features, you can visit this guide: Create Annotations.