Add a guideline to your experience
Guided tours of eCorpus scenes are the perfect tool to provide a guideline for your subjects. Thanks to it, you will be able to highlight not only your articles and your annotations in the desired order, but also energize and guide the reading of the scene by presenting precise points of view of one or more objects.
Presentation of guided tours
Summary
Understand what a guided tour is
Guided tours constitute the most complex eCorpus functionality to use, but also the one allowing the best interactions between the user and the 3D scene.
This functionality allows the creation of a real path, composed of steps, which will guide the user through the scene.
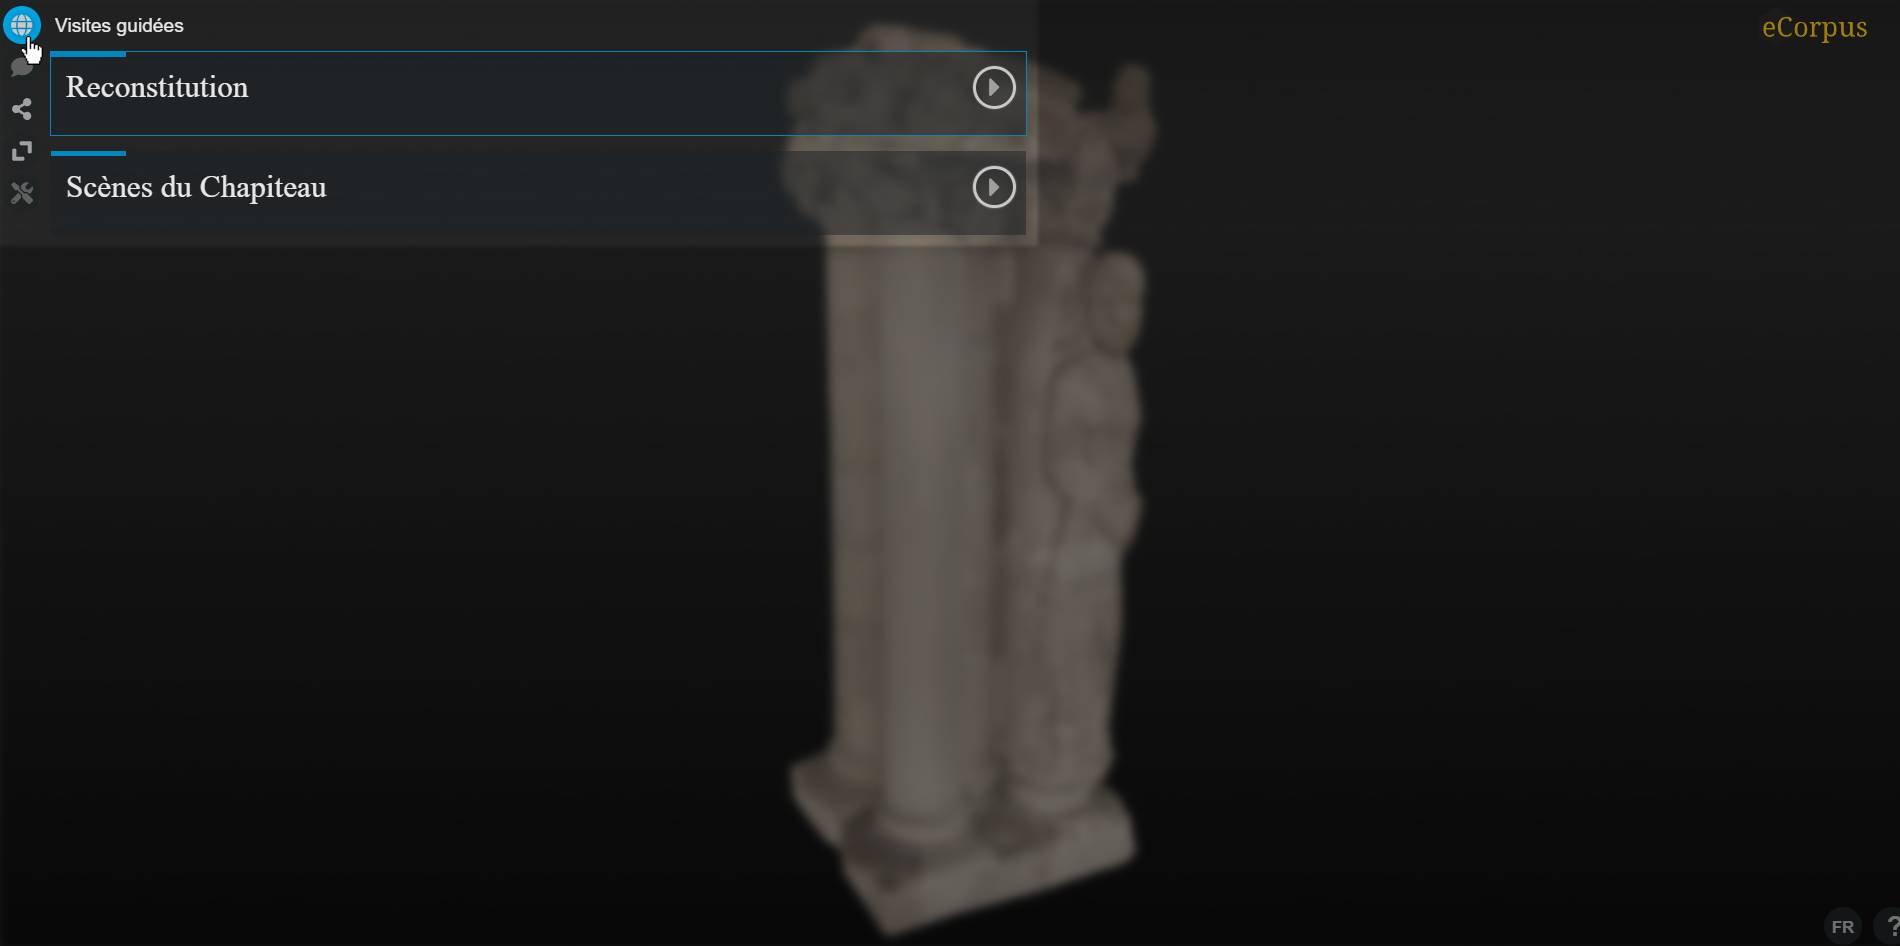
A Tour icon is displayed when the scene contains at least one guided tour. To view the list of available guided tours, simply click on the Tour icon.
Create a guided tour
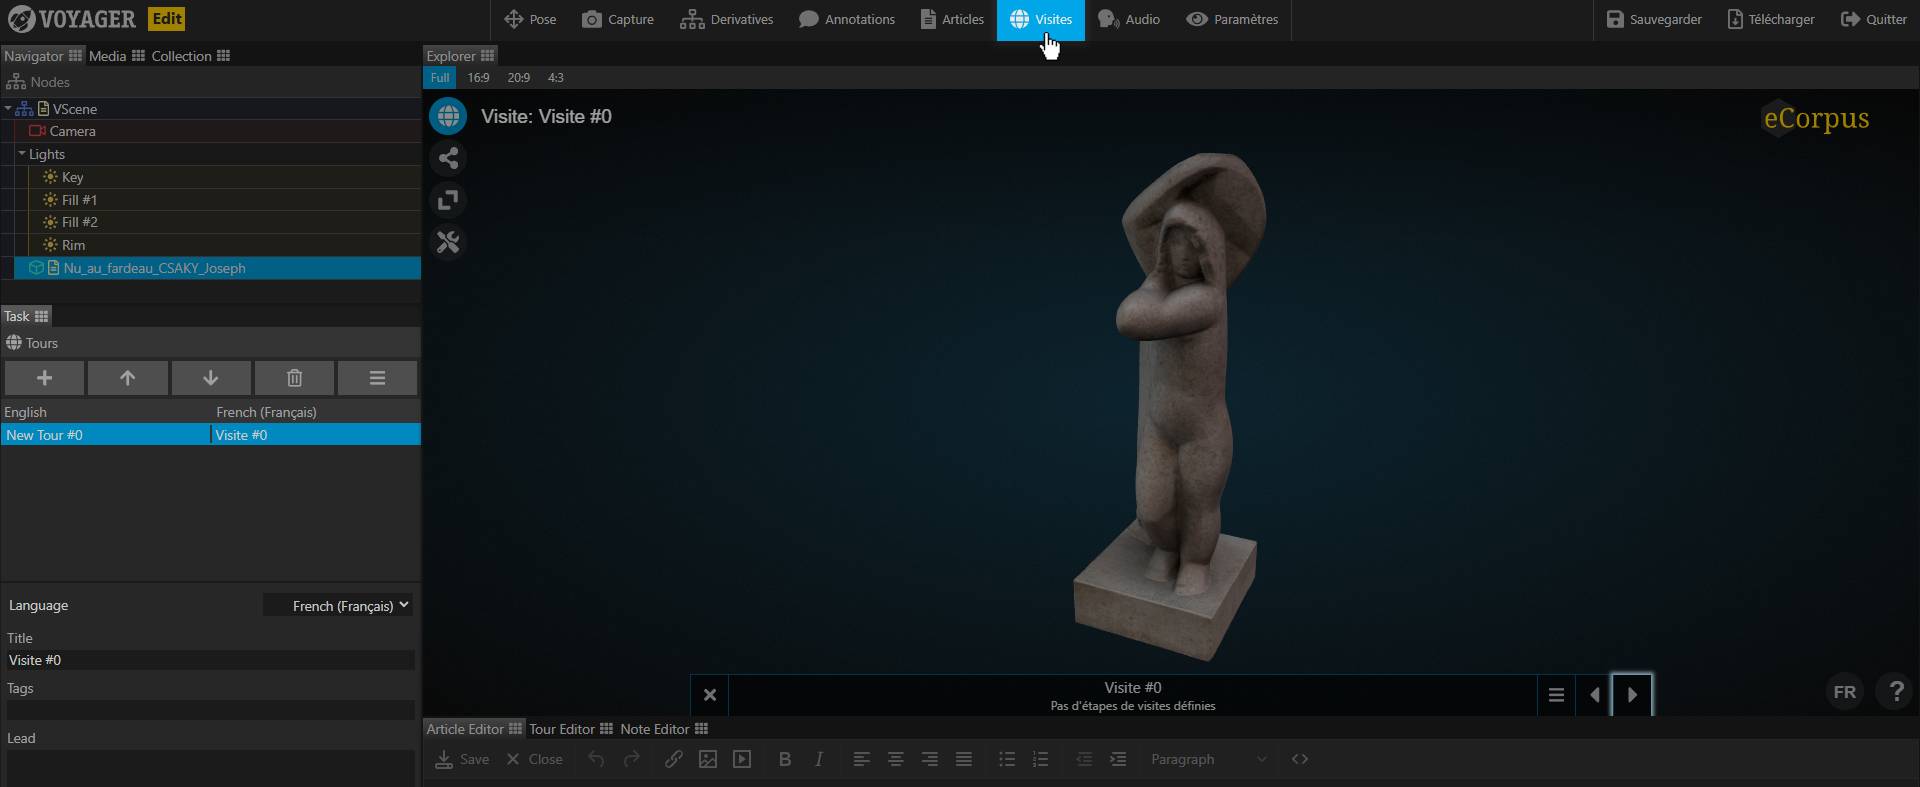
Guided tours work very similar to articles. To create a guided tour, select the Tours button (Tours if your scene is in English) at the top of the Explorer.
The Task tab at the bottom left will then display the list of guided tours.
Like articles, guided tours are stored directly in 3D models. It doesn’t matter much which model you store your visits in. We therefore recommend only creating visits and articles in a single 3D model to help you find your way around.
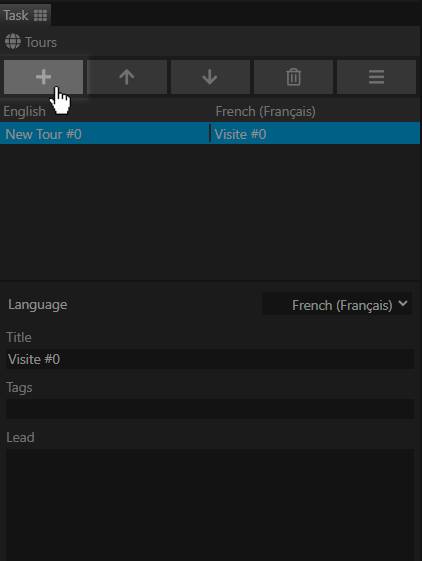
To create a new guided tour, select a template and click on the + button.
Tours appear in the order they are listed. By default, each new visit is created at the end of the list. If you want to change the order of an article, simply click on one of the two arrows to the right of the + button. The top arrow allows you to move up a selected item in the list, the bottom arrow allows you to move it down.
The parameters located directly below this list, namely Title and Lead, are used to respectively modify its title and its description in the list of guided tours of the viewer.
We advise you to add a meaningful title and a catchy description to make your user want to go further in their discovery of the scene.
Add steps to your visit

To add stops to your guided tour, you must first select the tour in question in the “Guided Tour” section. Then, go to the Tour editor tab below the Explorer.

Once in the Tour Editor, click on the Create button to create a new stage.
The steps keep in memory the information of the state of the scene in which it is at the time of their creation. In other words, creating a step is like “taking a screenshot” of Explorer.
You can change the step title via the Title parameter on the far right.
Update your step

If you want to change or update a state shown in a stage, click the Update button in the Tour Editor.
This button corresponds to a save button.
eCorpus automatically creates transitions between different stages. The duration of these transitions can be modified in the Duration parameter on the far right. The value of this parameter is unique to each step.
Learn more
You have completed the tutorials teaching you the basics of eCorpus, congratulations!
The possibilities offered by eCorpus are numerous, and have not all been mentioned. A category of advanced guides awaits you to discover even more.
Learn more about guided tour opportunities by following this advanced guide: Upcoming Guide