Your eCorpus Account
Summary
URL and access to your data base
To function, an eCorpus server must be set up. eCorpus is decentralized and operates on independent instances of each other to guarantee everyone’s full data sovereignty. Data remains interoperable and can be easily exchanged between users.
- To create your own eCorpus server, you can refer to the section: Installing an eCorpus server.
If your organization has an eCorpus server, contact your advisor or an administrator to create your account.
- If you are an administrator of an eCorpus instance, you can consult the tutorial: Administer an eCorpus server.
LogIn to your Account
Each eCorpus instance is independent and dedicated to an institution. To log in, use the URL provided by your administrator.
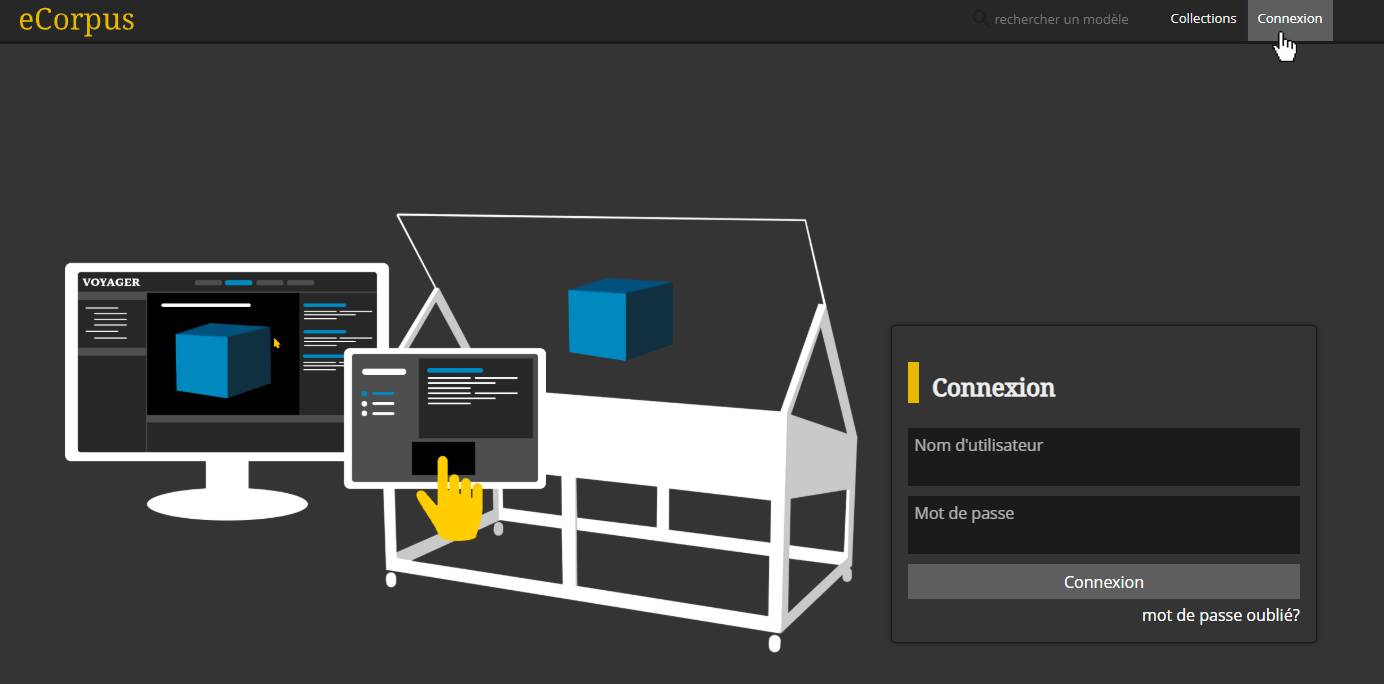
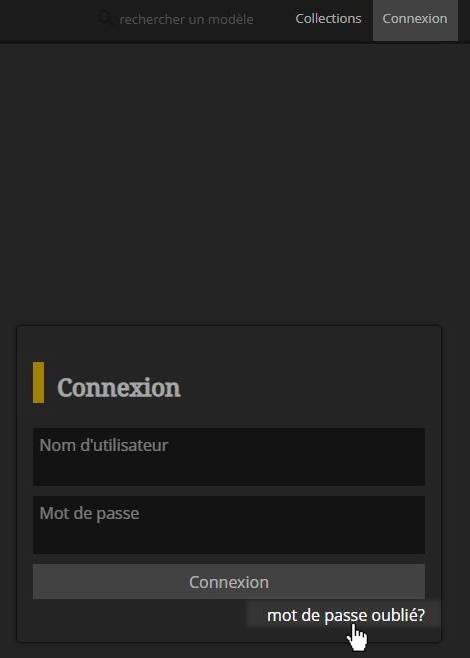
When you arrive at the URL of your eCorpus database, simply enter your identifiers in the spaces provided for this purpose to connect. You can also log in directly through a login link provided by your administrator.
- If you no longer remember your login details, you can click on the “forgotten password” link to receive an email to log in to your account.
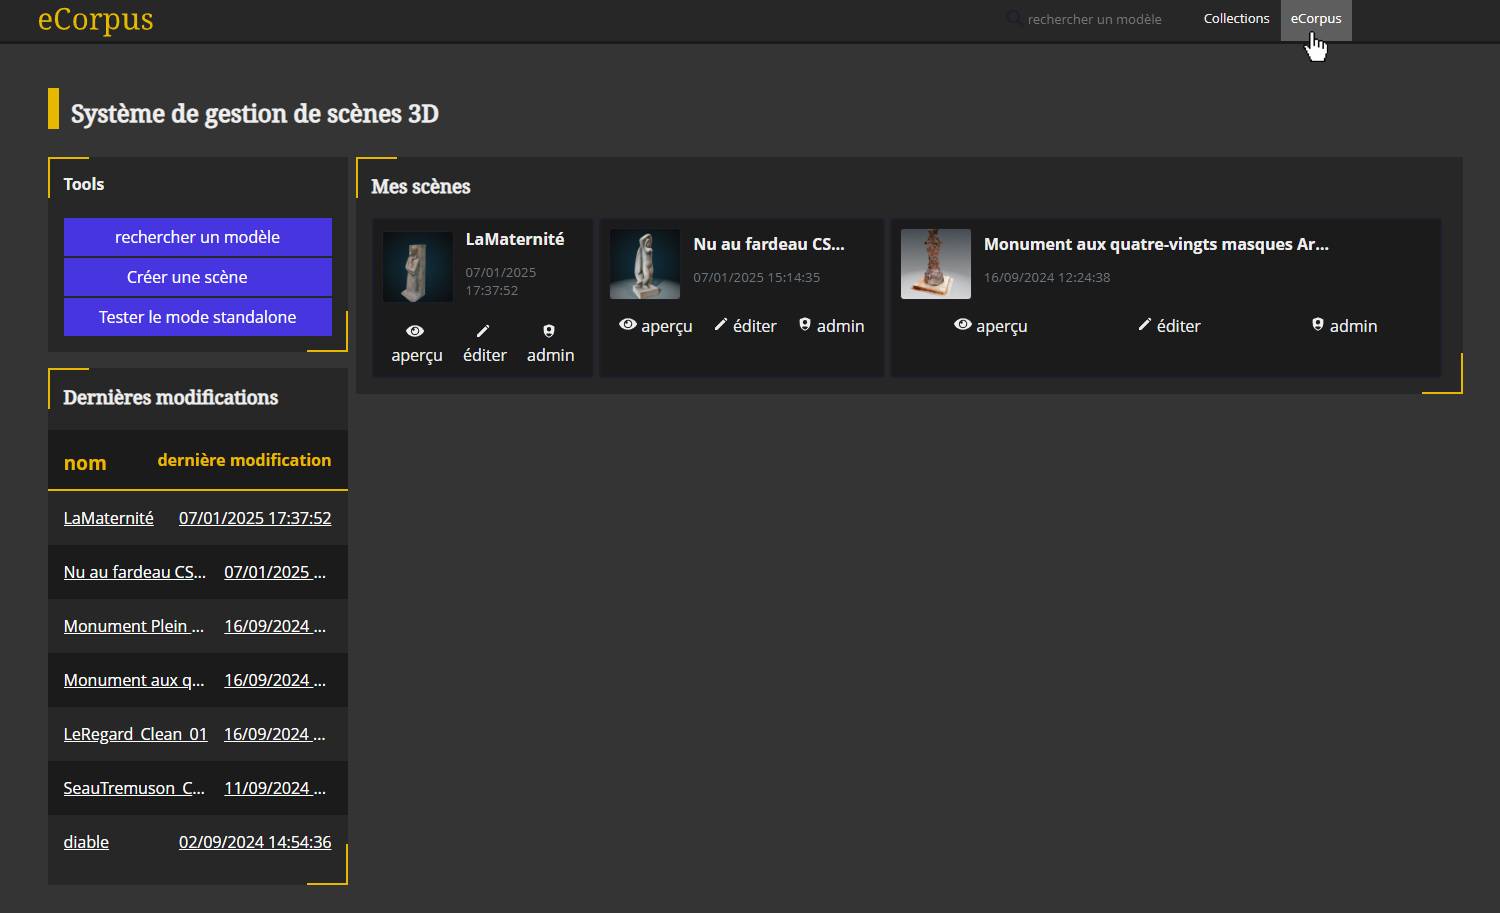
Once connected, you will have access to the 3D scenes that you have created, as well as those that have been shared with you by other users.
You will notice that your username appears at the very top right of the page. Click on it to access your user profile settings. There you can modify your username, your email address associated with the account, change your password, access your archived scenes and log out.
Your eCorpus Account
Load a 3D model on your eCorpus Account
How to generate and upload your 3D model
To load a 3D model to your eCorpus account, simply go to the main page of your database. You can get there by clicking on the logo displayed at the top left of the page.
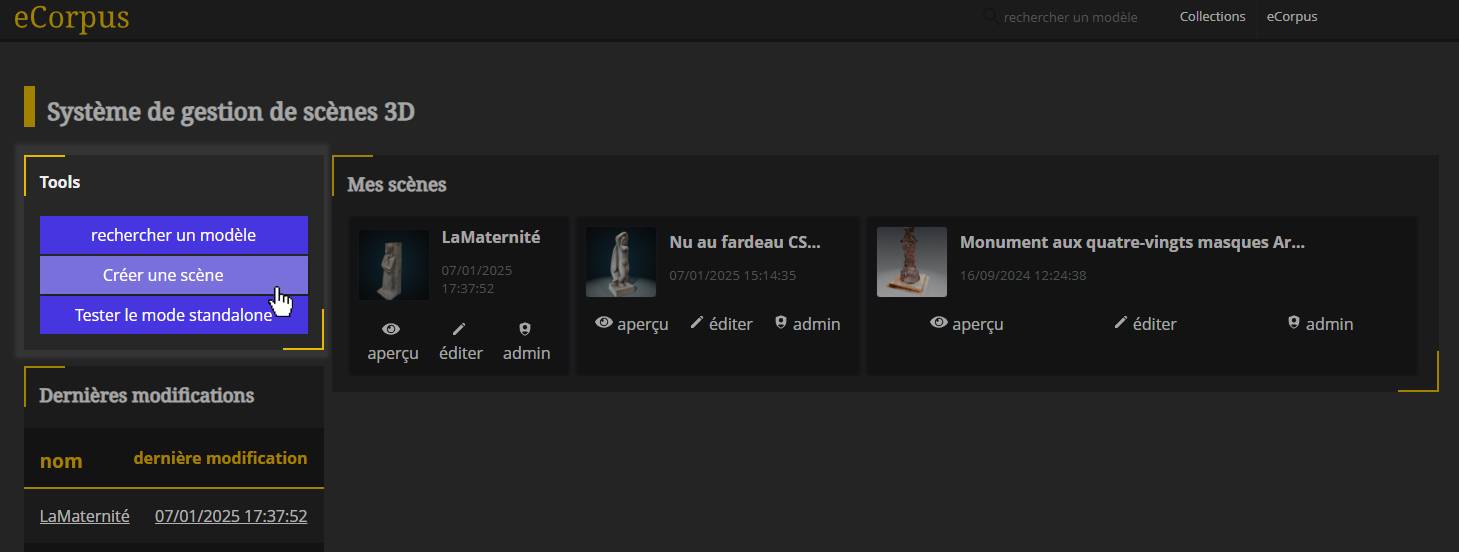
You will find a “Tools” tab at the top left in which 3 buttons fit. Click on the “Create scene” button. The page will change to display the eCorpus scene creation settings.
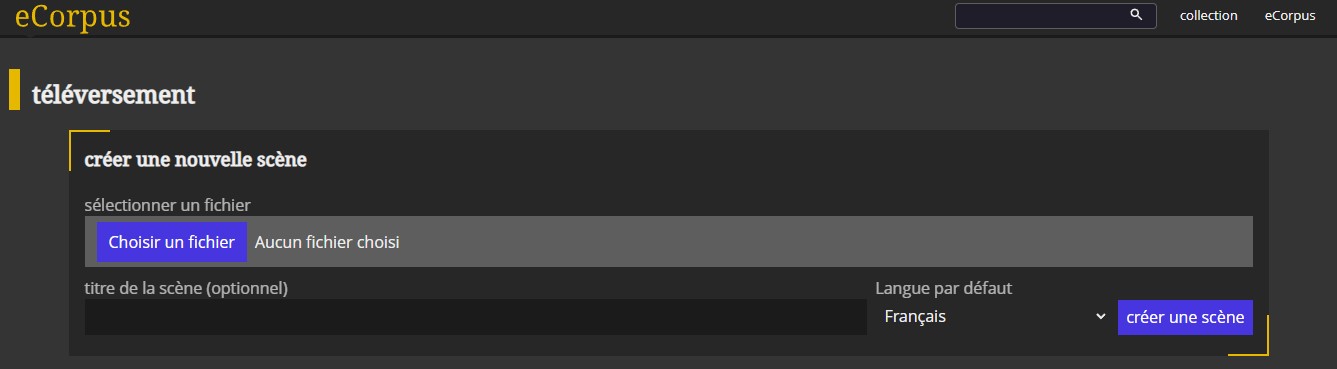
Once there, click on the “Choose file” button. A pop-up will appear asking you to select from your documents the files to upload to the database.
- You can also drag and drop the file to upload directly onto the tab
Finally, name your scene (this name will be directly visible in the URL, therefore, please avoid special characters), select your default language, and click on the “create scene” button to start importing your 3D model into the database.
- Only the .glb extension can be used on the eCorpus editor. To learn how to export a model to .glb, please refer to this guide: SetUp your 3D Model.
Retreive your password
If you forget your password, you can request a new connection link at any time by clicking on “forgotten password” at the bottom right of the tab provided to enter your login.
Once clicked, all you need to do is enter either your eCorpus identifier or the email address associated with your account so that a new form will be automatically sent to you by email.
- If you lose your password, don’t forget to change it
To do this, simply go to your user settings, by clicking on your user name at the top right of the page.

On this page, you can change your username, the email address associated with your account, as well as your password.
You will also find a button to LogOut at the bottom of the page.
Test eCorpus
Contact the eCorpus team to help you set up a dedicated eCorpus server hello@ecorpus.eu
Learn More
If you want to learn more about eCorpus features, you can visit this guide: SetUp your 3D Model.