Link a vocabulary to a visual
Thanks to its advanced annotation feature, eCorpus allows you to link a precise lexicon to a part of your 3D model in a simple and intuitive way. This function enables efficient semantic enrichment making technical terms and iconography accessible to a user. It helps highlight details that may be difficult to notice for an untrained eye, and much more.
Presentation of the Annotation tool
Summary
Create an Annotation
Add an Annotation
Manage the Annotation Engine, add content, organize and animate them.
eCorpus is very useful for enhance semantically your 3D scene. In order to do this, let’s first see how the annotation system works.
If annotations have been added in a 3D scene, an annotation icon will be visible in the 3D Viewer. If it’s the case, all you have to do is click on this icon to make the annotations appear or disappear.
Please note that each annotation is linked to a 3D model. Therefore, there cannot be an annotation placed “in an empty space”.

To create these annotations, go to the edition mode of your 3D scene.
You can learn how to go there by following this guide: Prepare your eCorpus scene.
Once in the Editor, you first need to select a model where you want to add an annotation on. To do this, go to the “Navigator” tab, on the top left, and click on the object’s name to select it. You can also click on the model directly in the Explorer window.
When a model is selected, a yellow frame will appear around it. Beware, this frame is visible on the screenshot frames. In order to deselect an objet, you can click on an empty space of your scene.
Once the model is selected, click on the”Annotation” tab, on top of the Explorer window.
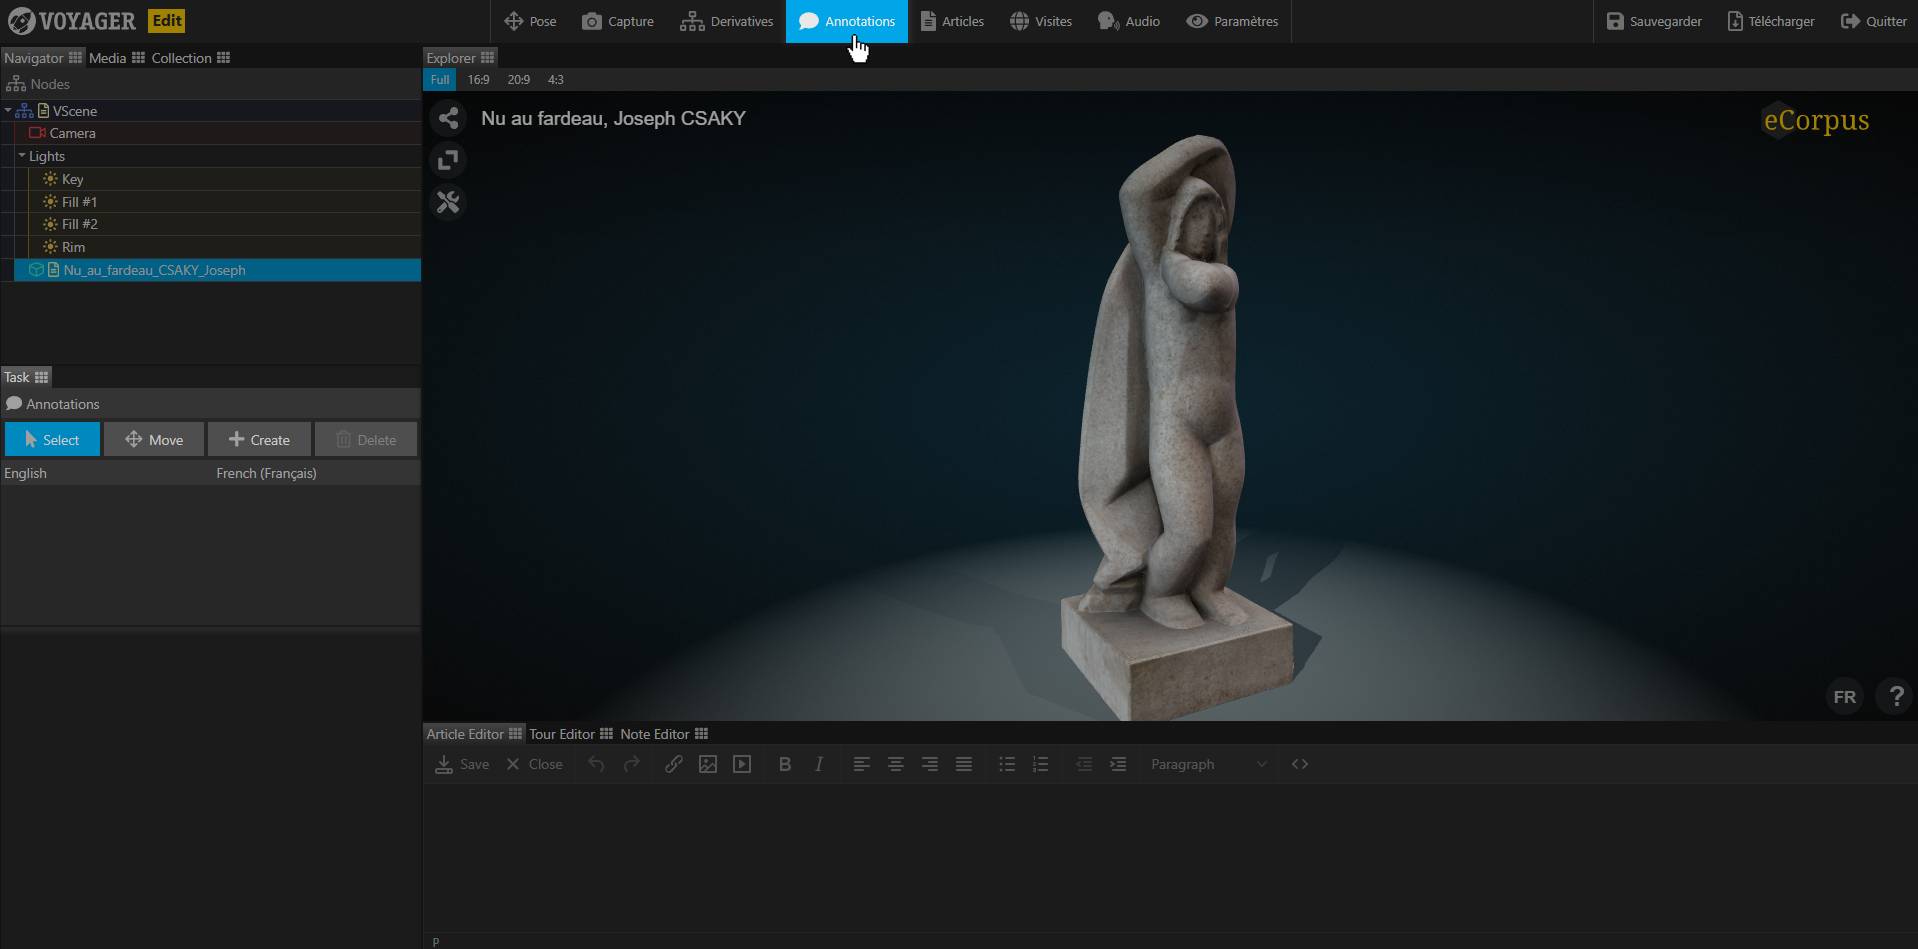
A window will open on the bottom left. This is the Annotation Editor. This editor has 4 buttons which we will detail below.
Select
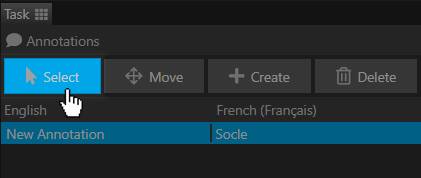
The Select button is the button selected by default when you open the annotation editing menu. It allows you to select annotations from the Explorer when they are visible.
Move
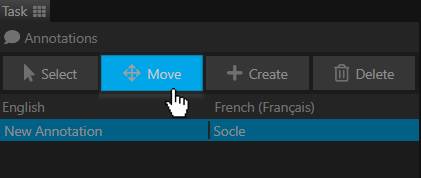
The Move button allows you to modify the location of the selected annotations.
To do this, select the desired annotation from the drop-down menu, or via the Select tool seen earlier. Once the annotation is selected, click on the Move tool and click on the desired location to move the annotation there. As a reminder, you cannot move the annotation “in an empty space”.
If you wish to move the annotation to another model, you will need to delete the annotation directly before recreating it on the desired model.
Create
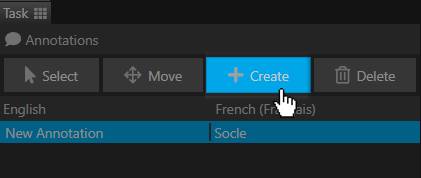
The Create button allows you to create an annotation by clicking directly on its desired location on the model in the Explorer. If the annotation is not placed in the right place, you can modify its location using the Move tool, seen previously.
Delete
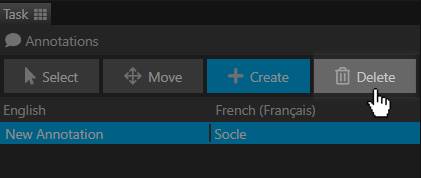
The Delete button allows you to delete a selected annotation. By default, this button is grayed out if the selected model has no annotation.
Please note, clicking on this button will directly result in the deletion of your annotation, so make sure you have selected the correct element
Set up an Annotation
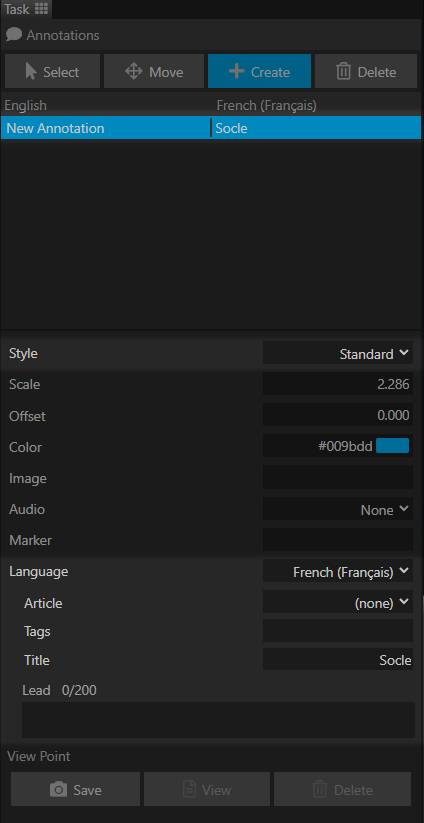
There are several parameters to modify your annotation. You will see in the image above the most commonly used settings highlighted. We will detail them below.
Enhance your Annotation
Annotation style
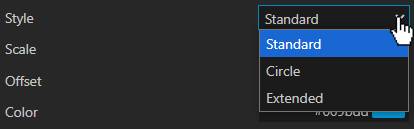
The Style parameter allows you to change, as its name suggests, the style of the annotation.

- By default, the style is set on Standard. It corresponds to an annotation of which only the Title is displayed.

- The Circle Style replaces the annotation with a circle on which the user can click to unfold the annotation and read the information given.
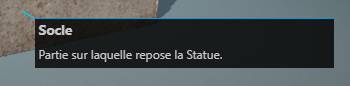
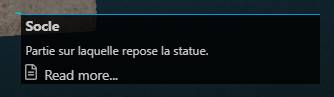
- The Extended Style is a standard type annotation on which the user can click to expand it and display the information contained in the annotation description.
Add a title and a description
The title and description are the most important part of an annotation.
To name an annotation, simply change the text in the Title parameter. A title is not limited in number of characters. However, a title that is too long risks going beyond the scope of the annotation.
For greater effectiveness, we advise you to use short and concise titles. If you need to add information, you can change the style of the annotation to “Extended” to add a short description of 200 characters maximum.
The description must be added in the “Lead” parameter. The numbers displayed on the side correspond to the number of words contained in the Lead.
It is entirely possible that the 200 characters of a description are not enough to effectively describe the part shown. If you would like to add more content to your annotation, please refer to the following guide: Create Articles.
Link an Article to an Annotation
If your annotation has an “Extented” style, it is entirely possible to link it to an article in the form of “learn more”
To link your annotation to an article, simply select the desired article in the “Article” parameter.
Remember to check that the style of your annotation is “Extended”
To work, first check that the article you want to link has been created in the same languages available as the annotation.
Learn More
If you want to learn how to create articles, go to this guide: Create Articles.