Getting started with eCorpus
eCorpus is free software for preserving, annotating and distributing 3D models. This tutorial set is intended to enable you to discover the features of eCorpus as a user, editor and administrator.
- eCorpus uses the 3D Viewer DPO-Voyager.
Discovery of an eCorpus scene
Summary
SetUp of an eCorpus scene
Explore scene management options
After loading your 3D model, prepare your editing collaborators, the language of your project, the license and key information such as the author, the site where the work is kept, the date of production…
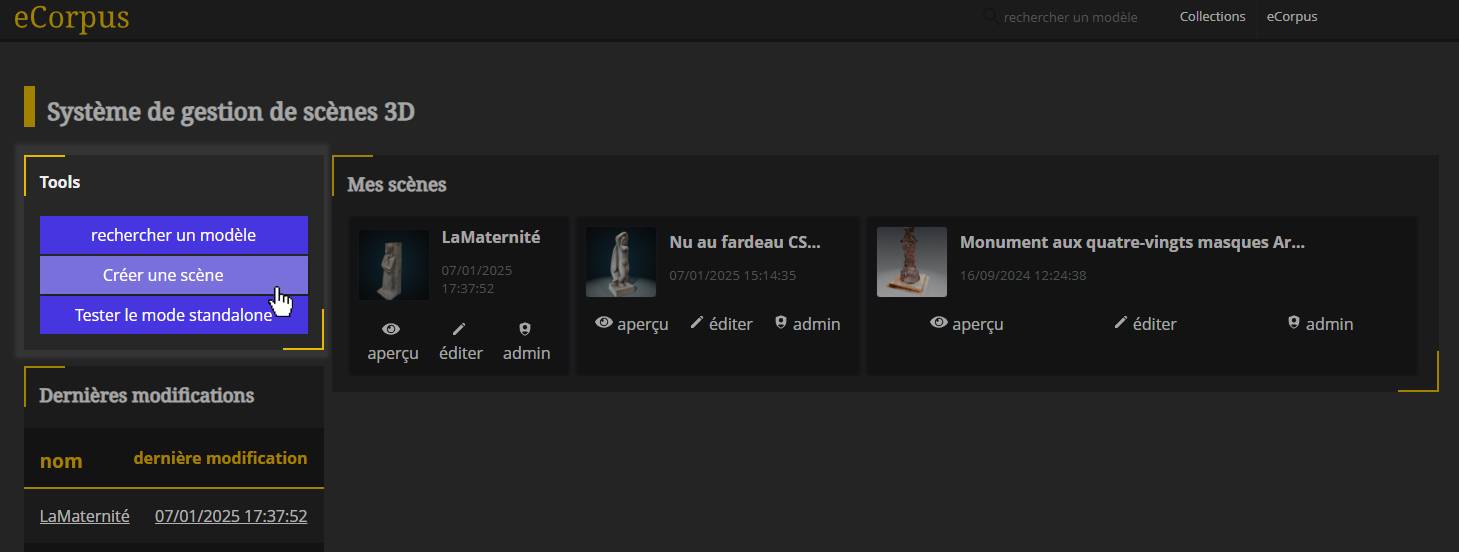
The model appears directly in the “My Scenes” tab once its import is complete. By default, your scene will display a miniature of a wire cube. You will notice 2 clickable buttons below your scene.
The “View” button
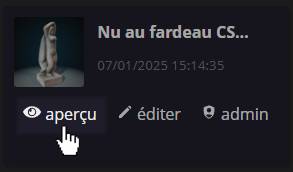
It is only used to visualize your 3D scene.
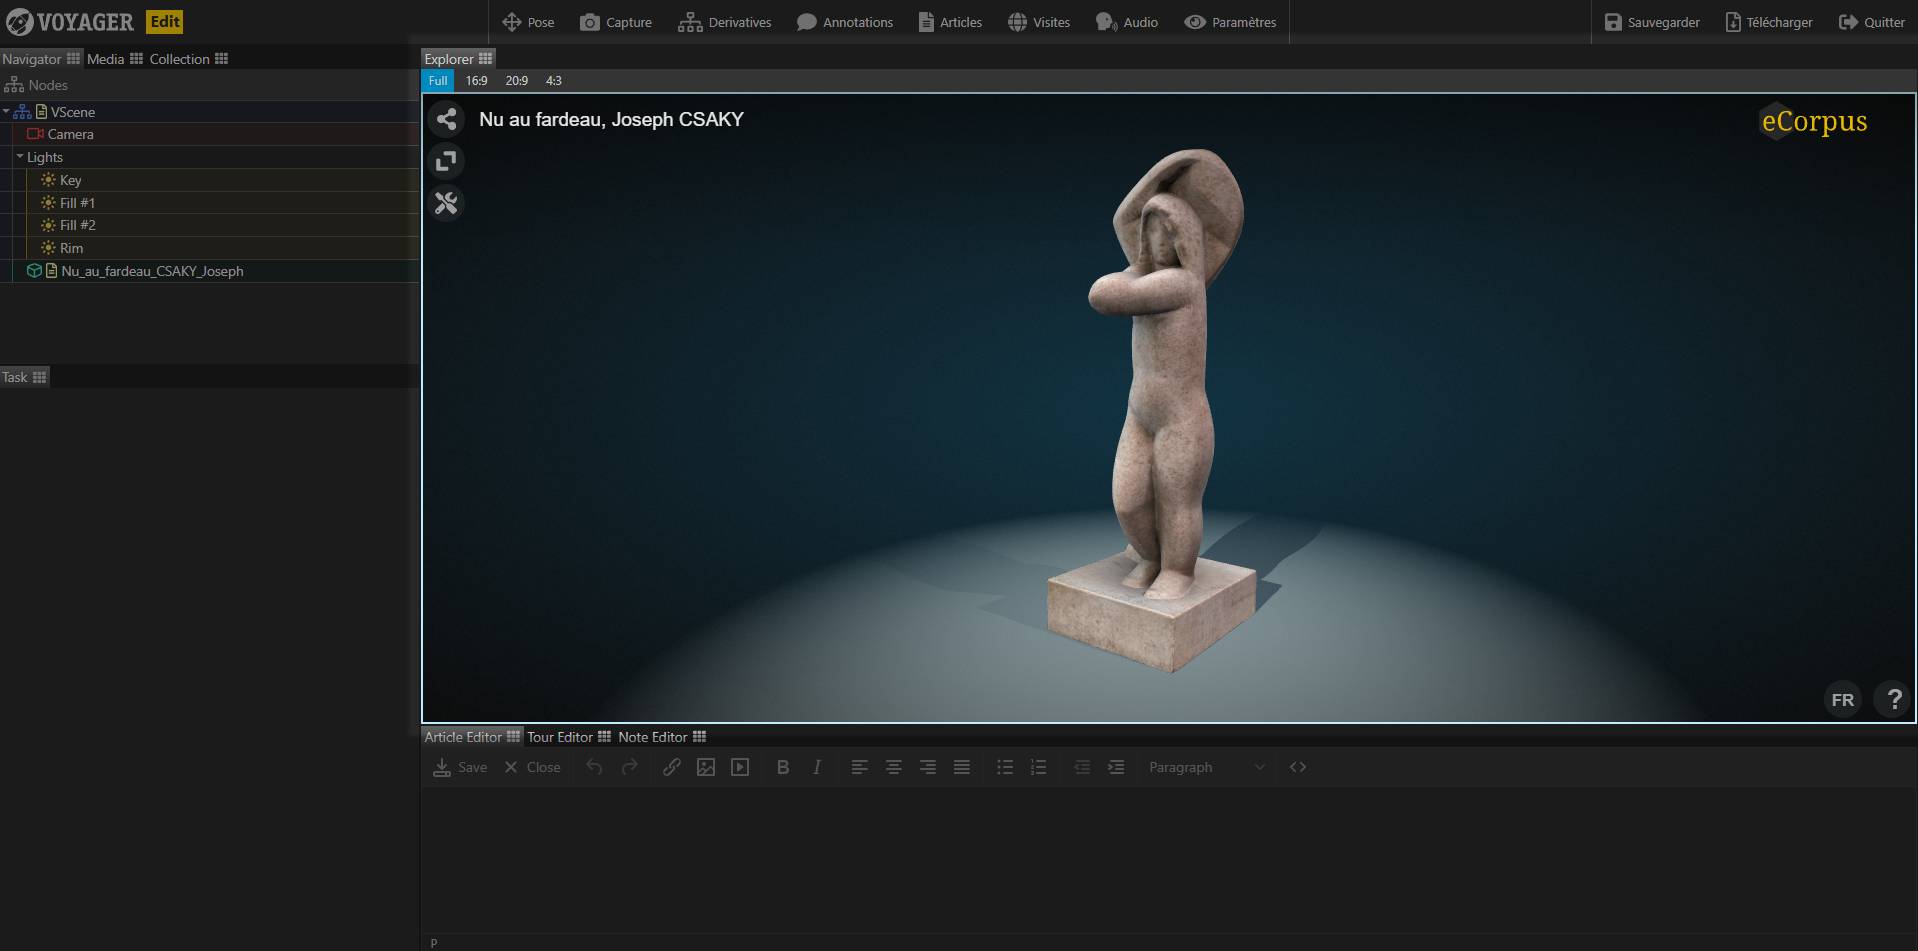
The “Edit” button
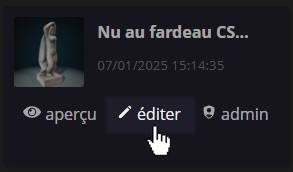
It is used to edit your 3D scene to change and add content. In the editor, you will first notice the middle window, called “Explore”. This contains the 3D model that you imported. With your mouse you can change your view of the object. To learn more about editing options, please go to this point.
Manage your scene
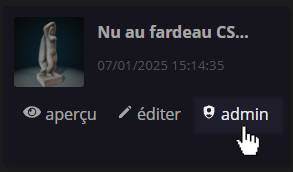
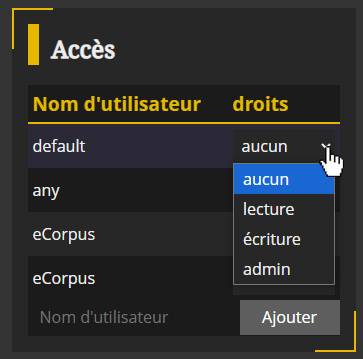
To manage the administration of your scene, click directly on its name. In the “Access rights” category on the right, you will find a list of different users and their assigned rights.
Let’s first look at the different rights statuses that you can assign to each user.
-
None: A user with this right will not be able to access your scene.
-
Reading: A user with this right will have access to your scene viewer, but will not be able to modify it.
-
Reading: A user with this right will be able to view and edit your 3D scene.
-
Admin: A user with this right will be able to see, edit, and change the administrator rights of this scene.
Now, let’s focus on the different users listed:
- Default: Concerns all visitors to the link, including people not identified in the database.
If your scene is visible in public, we advise you to give it “Read” rights
- Any: Concerns all members having an account on your database
You can add a username to give it specific rights. Simply enter your exact username and click on “+”.

Finally, you will notice the presence of 4 buttons on the left.
Edit
It allows you to edit your eCorpus scene. Learn more about scene editing, please go to this point.
See
It allows you to visualize your eCorpus scene.
Download scene
It allows you to download the scene in compressed file format (.zip), containing in particular your eCorpus scene in .json format, the 3D .glb models as well as the article, annotation and guided tour information present at the time of download.
Uploading your eCorpus scene allows, for example:
- to retrieve models from your database for any use (3D printing, model editing, etc.);
- copy your scene to another eCorpus database;
- to load your scene onto an interactive holographic display case.
Scene History
It allows access to the editing history of the scene.
It bears witness to every change made on the scene since its creation.
If you saved the wrong version of your scene, you can restore a previous version to that edit by hovering over a history step and clicking “restore”.
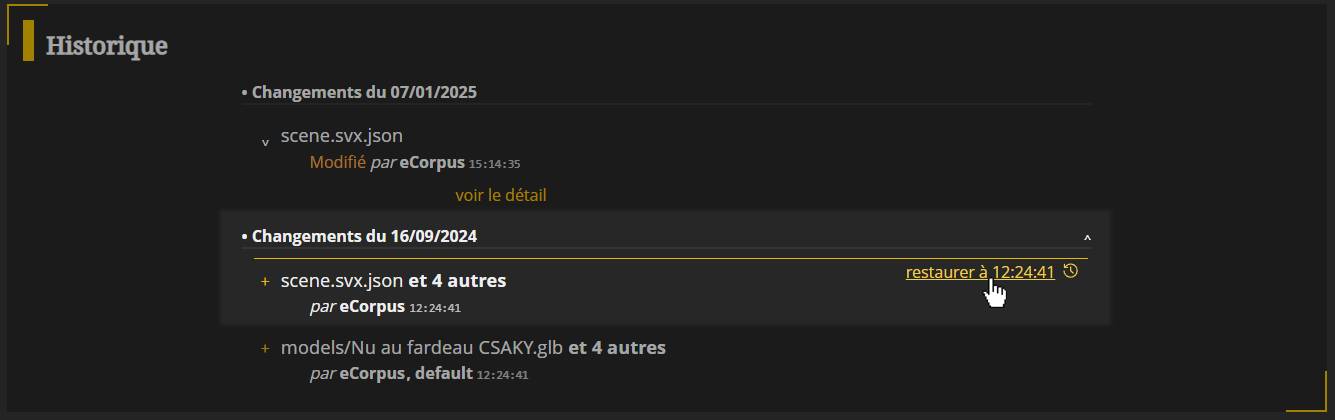
Please note, clicking on “restore to” will not delete the changes: new entries will be added to the current date to restore the scene to the state it was in on the indicated date
The basics for setting up your scene quickly
The basic Controls
-
Hold down left click and move your mouse to rotate the object.
-
Hold down the mouse wheel to change the zoom of the object. Moving your mouse forward will cause you to zoom in on the object, moving it back will have the opposite effect.
-
Hold down right click and move your mouse to move the object in space.
You will notice that the scene name is displayed at the top left of this window. To change it, you need to go to the window on the far left, in “Collection” (the window displays “Navigator” by default).
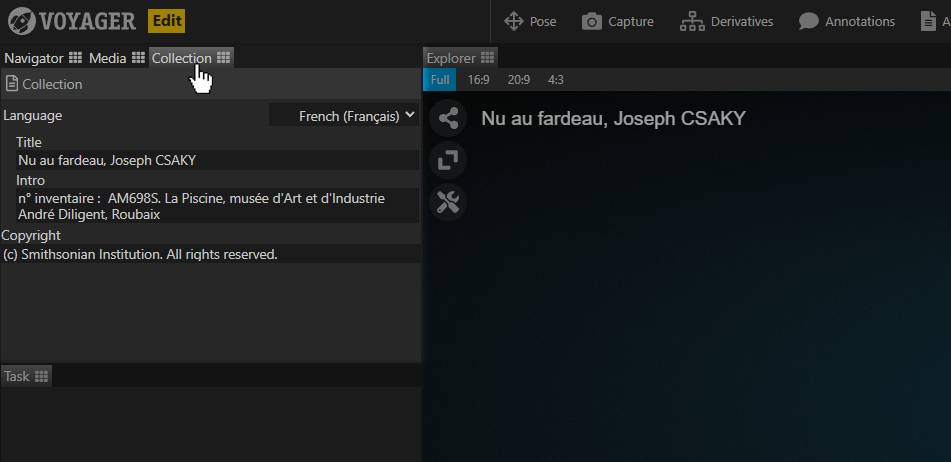
Here you can change the language of the scene, its title and the introduction which will be displayed in pop-up each time a user opens the scene. Changing the language will add a new language to the scene and will not remove changes made to the original language.
You can therefore have several languages on the same stage.
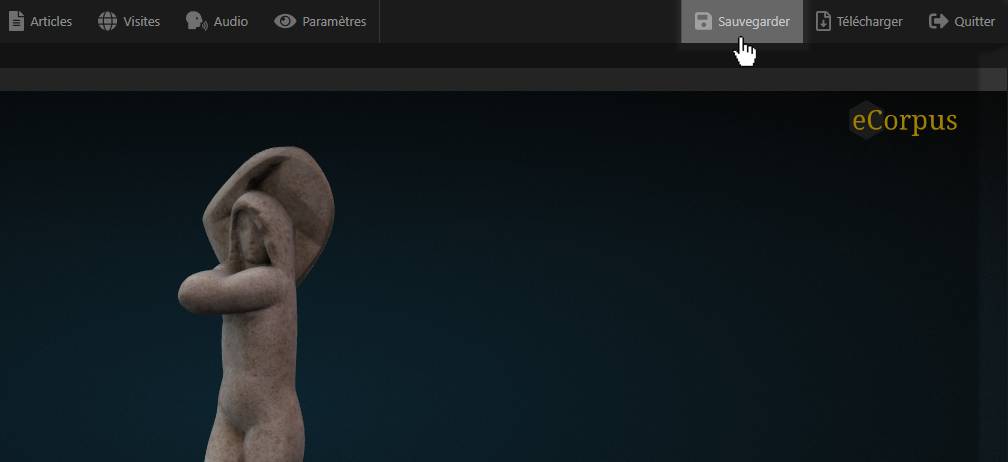
To save your changes click on the “Save” button at the top right.
Create a thumbnail picture
To create a thumbnail of your 3D scene, go to the “Capture” tab, just below the “Explore” window.
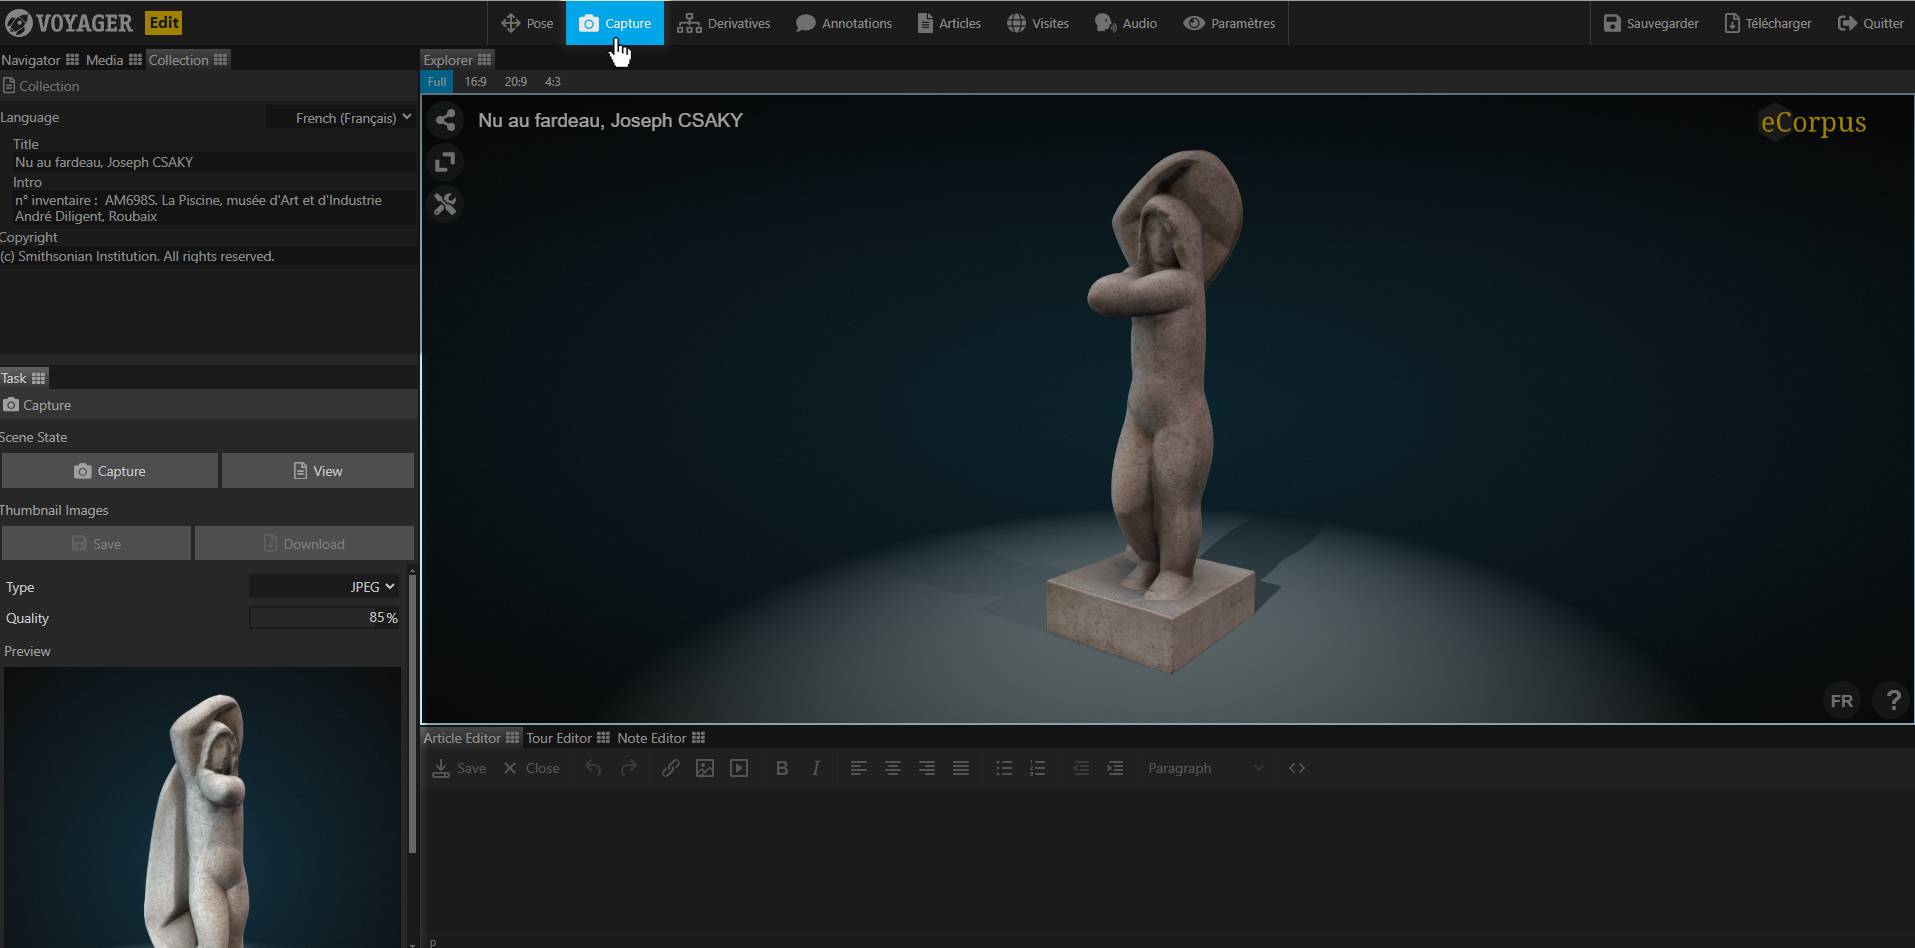
Once the tab is clicked, you will notice new options at the very bottom left of your screen. In “Scene State”, click on the “Capture” button so that the editor takes a “photo” of the scene in its current state.
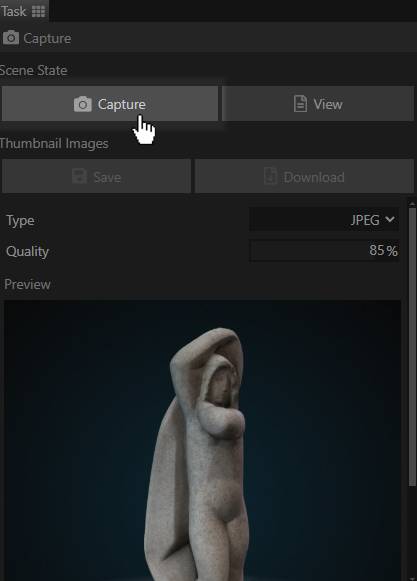
A preview is then updated in the “Preview”. Do not hesitate to orient your object differently and move it if necessary. You can repeat the capture as many times as necessary.

Once you are satisfied with the image, you can save it by clicking on the “Save” button below the “Capture” button.
Be careful, saving the scene without having saved the thumbnail in the Capture tab is not enough, you risk losing your thumbnail image.
Center your model automatically
When importing your 3D model, the model location may not be correct. If you notice that your model is off-center in the scene, or that its center of rotation does not seem correct, you can correct its location via the “Pose” tab, at the top of the Explorer.
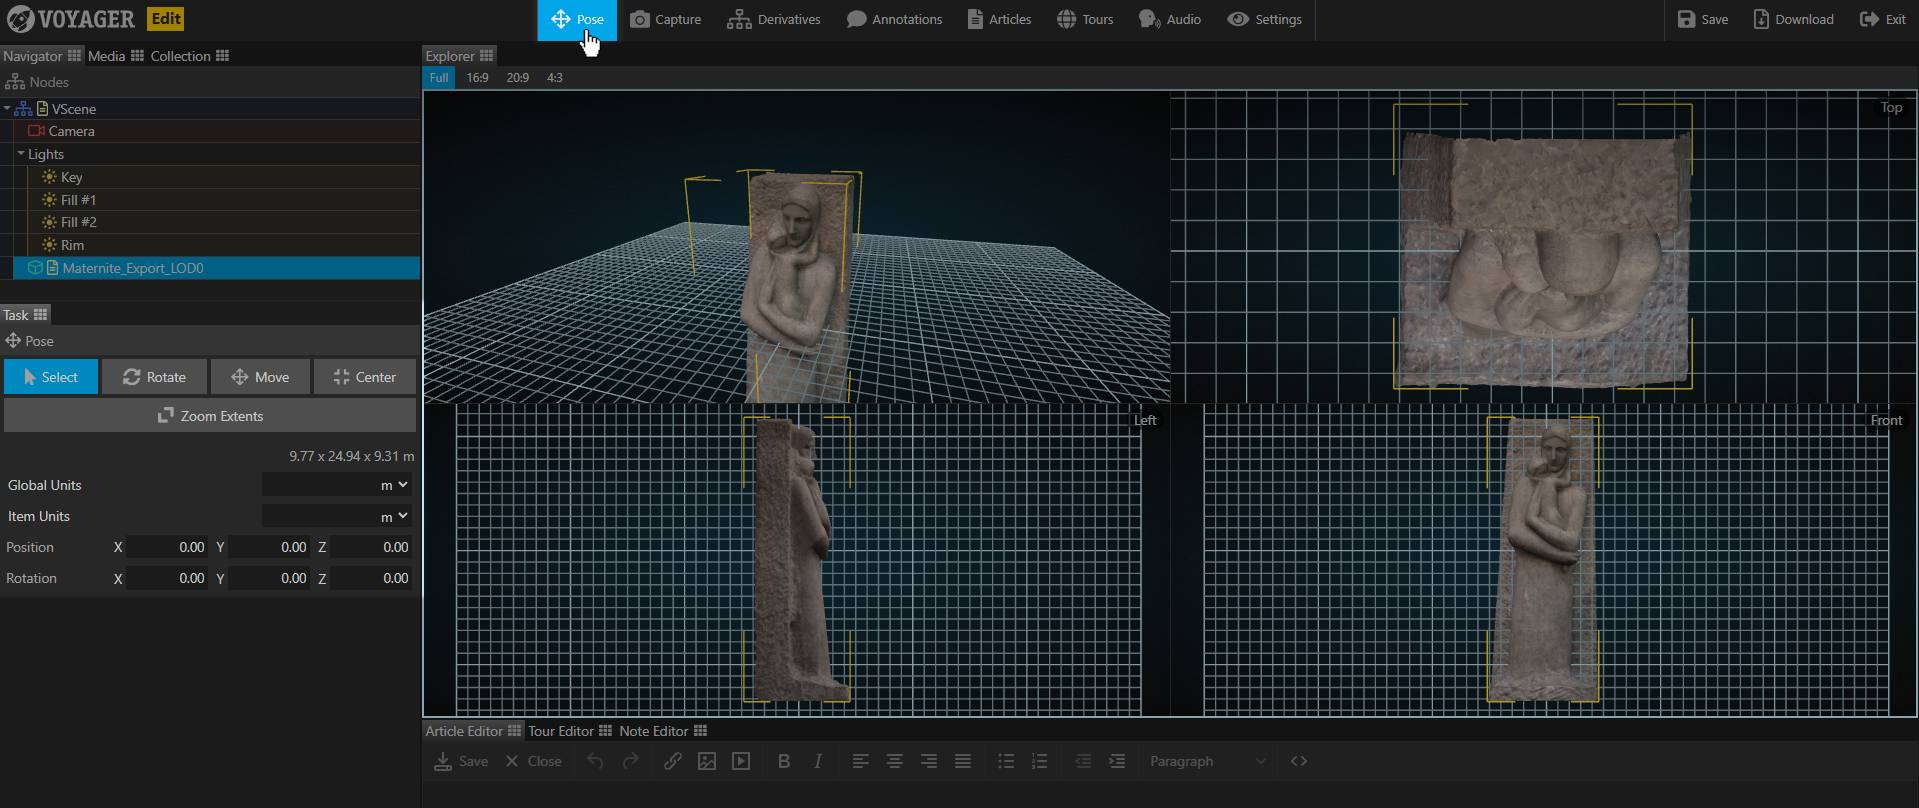
By clicking on “Pose” you will notice a change in the Explorer. The 3D view is now divided into 4 planes, showing a 3/4 view, a top view, a side view, and finally a front view of your scene.
You will also notice the appearance of a virtual grid. This grid only serves as a guide to reposition your model, so it will not appear on your final scene.
The center of this grid corresponds to the center of rotation of the scene. We therefore advise you to reposition your object so that its center of rotation is placed in the center of this grid.
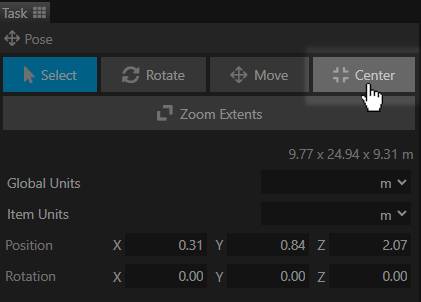
You can easily recenter your model, simply click on the “Center” button, to the far right of the tab.
Auto-recentering may not be enough to resolve placement issues. To reposition your model manually, simply change the values in the Position slots.
An advanced tutorial on editing your object’s pivot point will soon be available on the platform.
Learn More
If you want to learn more about eCorpus features, you can visit this guide: Create Annotations.